English
 中文简体
中文简体
 русский
 Español

Walk into a room where the curtain rod hangs just a few inches above the window frame, and the ceiling instantly feels lower. Move that same rod halfway up the wall toward the ceiling, and the window appears taller, the wall looks more intentional, and the whole room gains a vertical line that carries the eye upward. The difference is usually no more than 6 to 12 inches of measurement, yet it completely changes the proportion of a space.
Curtain rod height is easy to get wrong because the right number depends on three variables: ceiling height, window casing, and the length of the curtain panels you plan to hang. This guide gives you the height rules used by interior designers and experienced installers, explains why they hold up in practice, and shows how to adjust the rule for your own conditions.
The Quick Answer: Mount It Higher Than You Expect
The conclusion first: mount the curtain rod 4 to 6 inches above the window frame, or one-third to one-half of the distance between the top of the window trim and the ceiling, whichever value is larger. On ceilings above 9 feet, you can go as high as 12 inches above the frame. For most standard 8-foot ceilings, 4 to 6 inches above the frame is the sweet spot.
This rule works because the top edge of the curtain functions as a horizontal line in the room. When that line sits close to the ceiling, the wall above the window visually disappears and the room feels taller. When the rod is mounted low, the exposed strip of wall between the window and the curtain reads as dead space, which makes the ceiling feel lower and the window feel smaller.
Height Rules by Ceiling and Trim Condition
Standard 8-foot ceilings
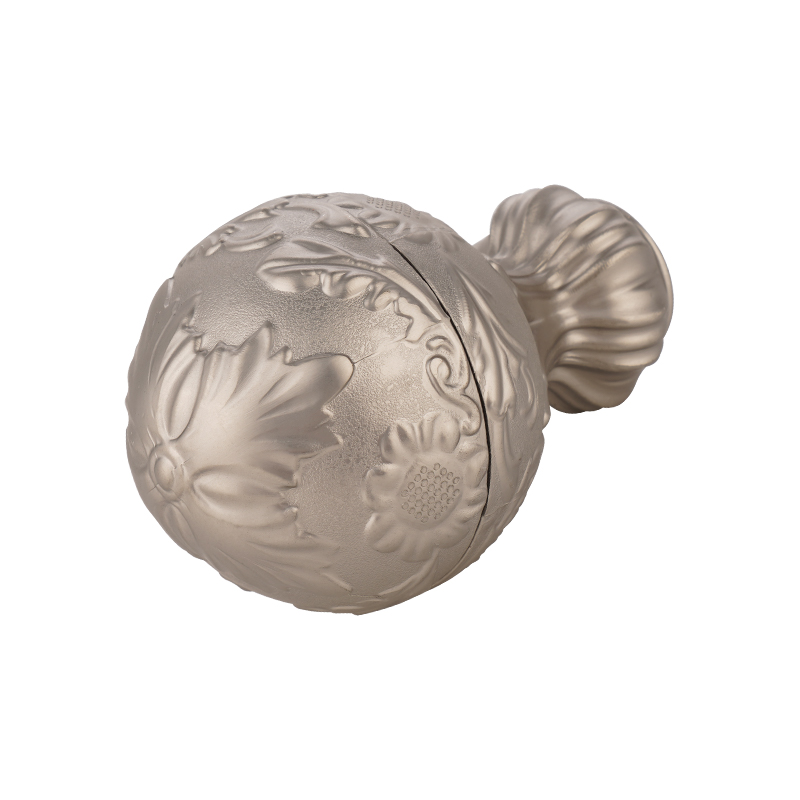
With an 8-foot ceiling, position the rod so the top of the finial clears the window casing by 4 to 6 inches. In a typical room, this places the rod 6 to 8 inches below the ceiling, leaving enough room for rings and finials to move freely. Measure from the top of the casing, not from the bottom, and always measure both sides because older homes rarely have perfectly level trim.
Nine- to ten-foot ceilings
Taller ceilings change the geometry. Mounting the rod only 4 to 6 inches above the frame leaves a large blank wall between the top of the curtain and the ceiling, and the window loses its connection to the room. Move the rod up to 8 to 12 inches above the frame, or one-third to one-half of the space between the trim and the ceiling. The taller the ceiling, the closer the rod should sit to that midpoint fraction.
Crown molding and high trim
When crown molding is present, the standard advice is to hang the rod 4 to 6 inches below the bottom edge of the molding. This keeps the molding visible and creates a continuous line from the crown down to the floor. Avoid sliding the rod right up against the molding; you need vertical clearance to install the curtain and to lift the rod off the brackets for cleaning.
Windows close to the ceiling
Some rooms place the window casing only 3 or 4 inches below the ceiling. In that case, mount the rod about 2 to 3 inches below the ceiling and make sure the finials and rings do not scrape the ceiling when the curtains are drawn. A rod mounted flush with the ceiling is difficult to align and makes the brackets hard to access.
How Rod Height Controls Curtain Length
Rod height determines the drop from the bottom of the rings to the floor, and that drop decides the overall look. There are three accepted hem positions:
- Floating: fabric hovers 1/4 to 1/2 inch above the floor. The most practical option for daily use because curtains do not pick up dust or get caught under the vacuum.
- Kissing: fabric just touches the floor. The classic residential look, but the exact position shifts with seasonal humidity and washing shrinkage.
- Puddling: fabric lies 1 to 3 inches on the floor. A formal, intentional look that needs about 10 to 15 percent extra fabric and regular fluffing to look good rather than sloppy.
For ready-made 84-inch curtains, mount the rod so the bottom of the rings sits about 86 inches above the floor. For 96-inch panels, apply the same principle: choose the rod position first, then order panels that match the resulting drop.
| Hem style | Floor clearance | Best for |
|---|---|---|
| Floating | 1/4–1/2 in. above the floor | Everyday rooms, homes with pets, high-traffic areas |
| Kissing | Just touching the floor | Living rooms and bedrooms with a classic look |
| Puddling | 1–3 in. pooled on the floor | Formal spaces with an extra fabric budget |
Pair Rod Width with Height
Height rules work in two dimensions. Extend the rod 4 to 10 inches beyond each side of the window frame, with 6 to 8 inches as the most reliable middle ground. A wider rod does three things: it lets the curtain clear the glass almost completely when open, it visually widens a narrow window, and it allows a 1.5 to 3 times fullness ratio for the fabric panels.
For example, a 36-inch window with the rod extended 8 inches per side makes the rod about 52 inches long before finials. Add the finial projection to the final purchase length, and compare this number to the manufacturer's rated span. Long rods need a center support bracket for spans over 60 inches, regardless of how strong the rod feels.
Marking and Mounting the Brackets
Once the height is decided, transfer it to the wall in a repeatable order:
- Measure the ceiling height at the window and write down the target rod position.
- Mark the top of the rod on the wall with a pencil line.
- Subtract the rod diameter and the ring height to locate the top of the bracket.
- Mark both brackets at the same height using a level that spans the window.
- Check the bracket projection so the curtain stack clears the window casing when open.
- Before drilling, run a stud finder across the mounting area and mark any studs.
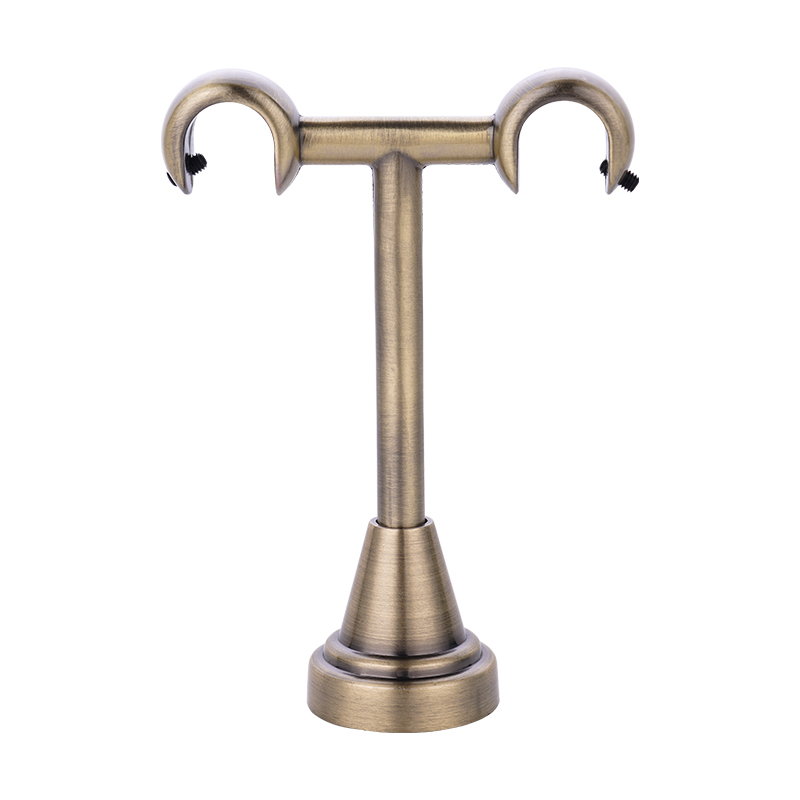
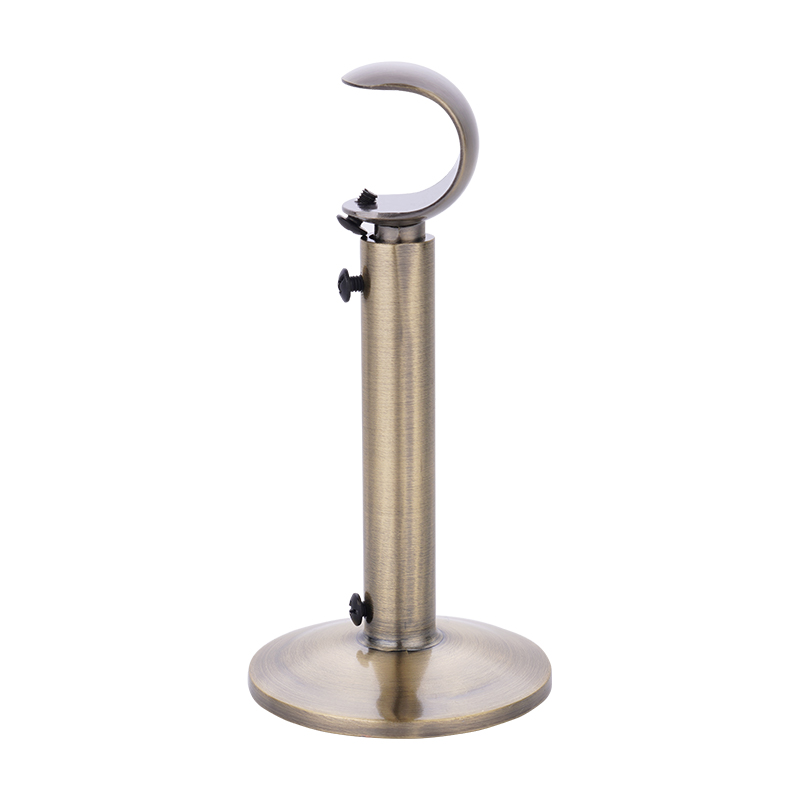
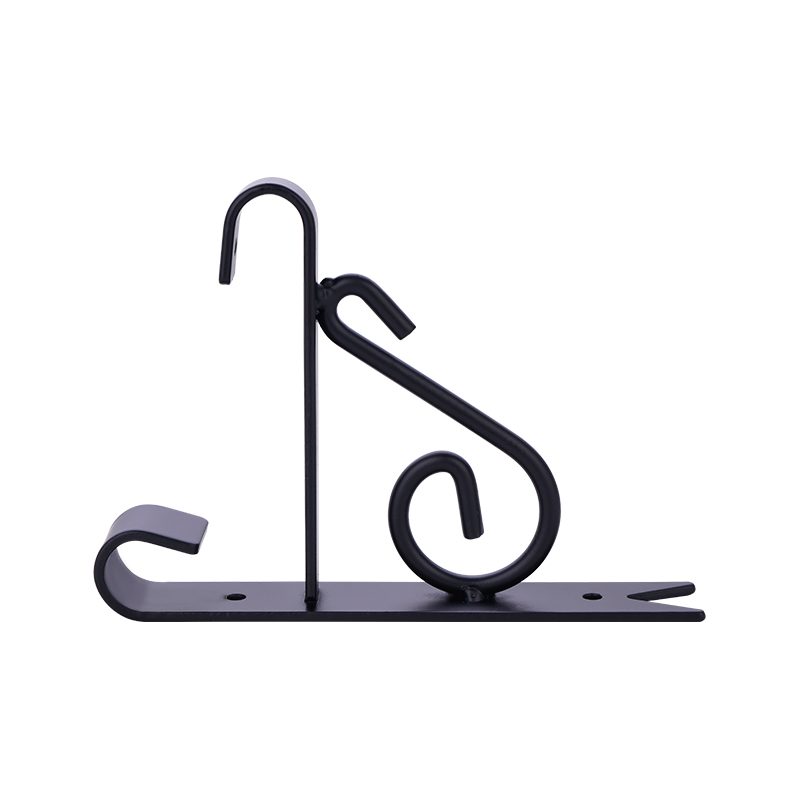
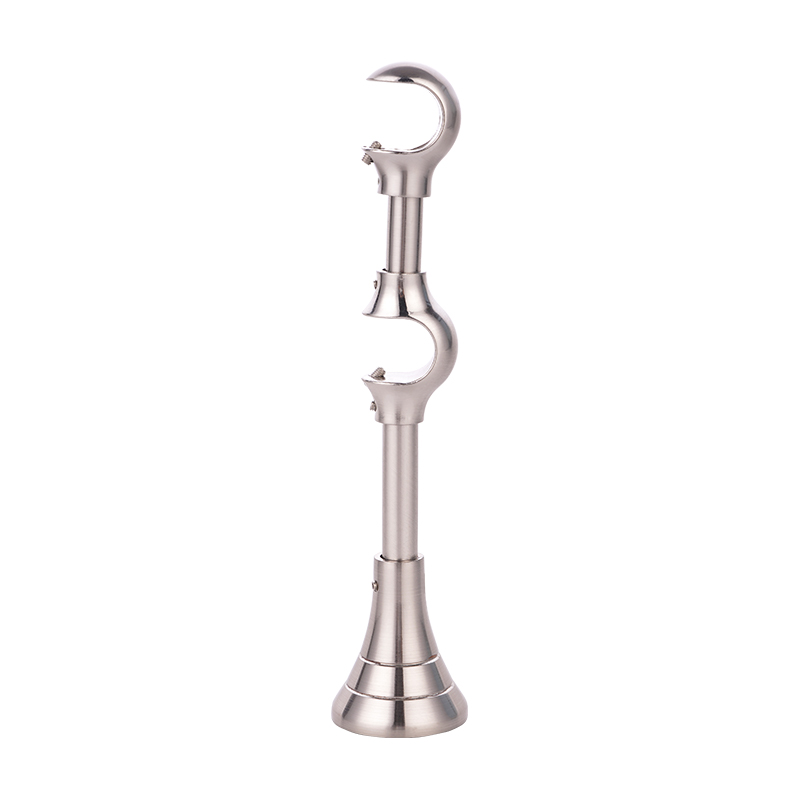
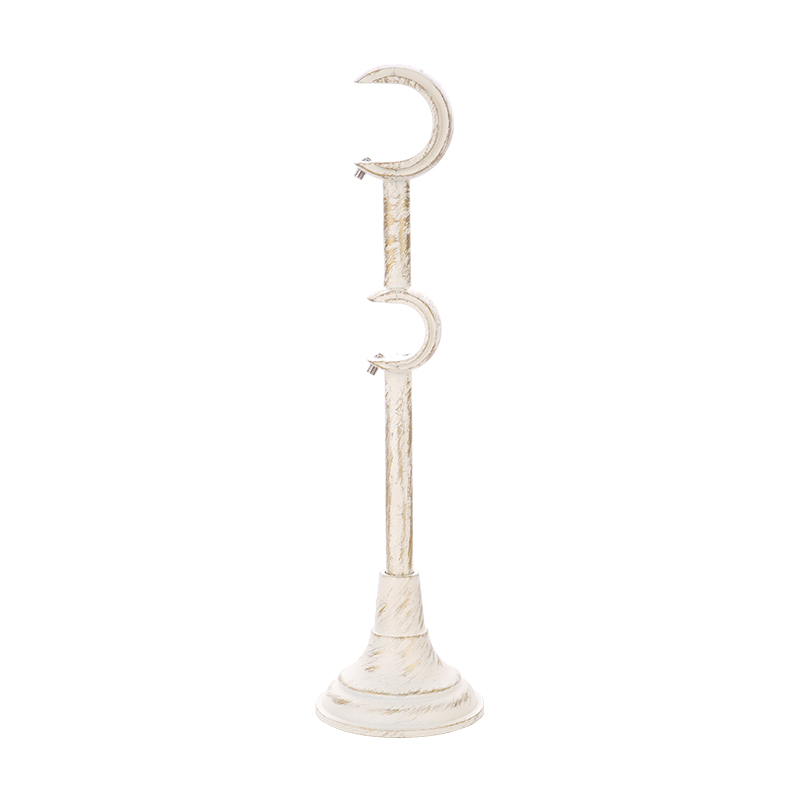
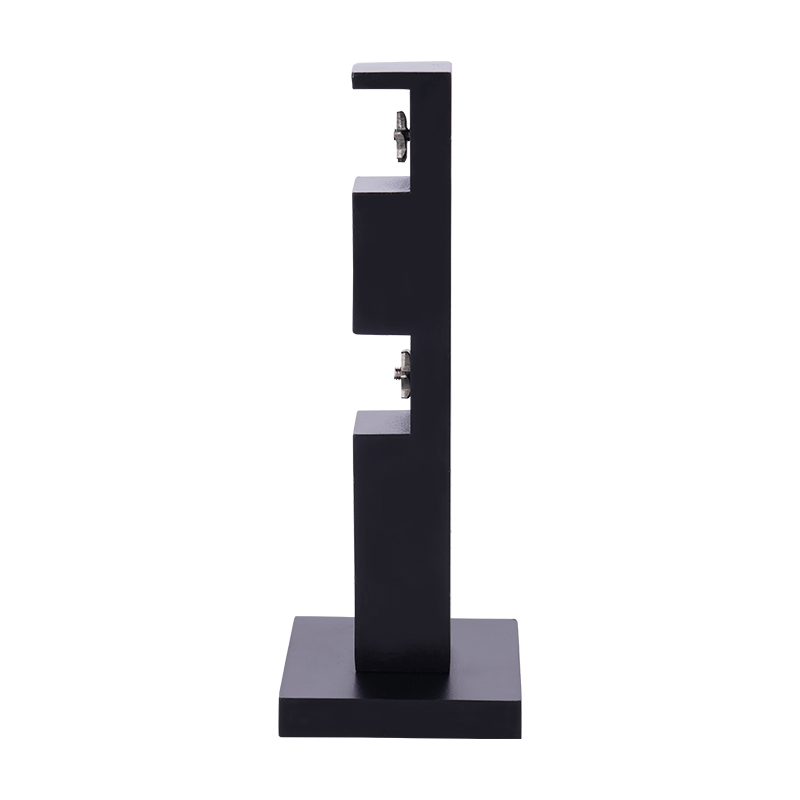
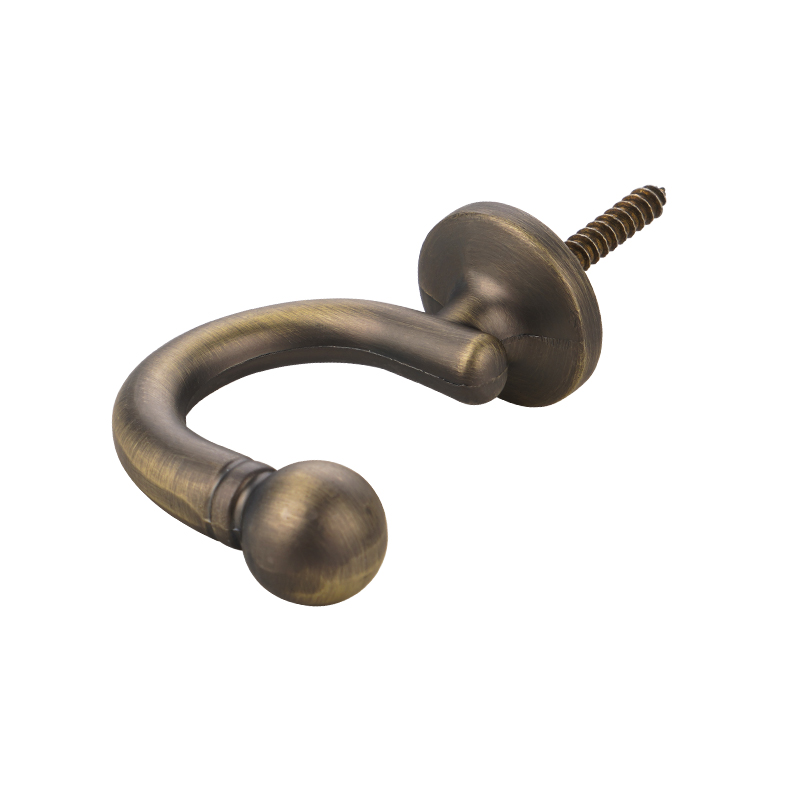
Brackets matter more than most buyers expect. A decorative bracket with a small mounting plate may not carry a heavy aluminum or steel rod with full-length curtains. For windows wider than 48 inches, at least one bracket must land on a stud or use a toggle bolt rated for the live load of the rod and fabric. The right starting point is curtain bracket selection, because a bracket rated for lightweight fabric changes the practical height you can safely use.
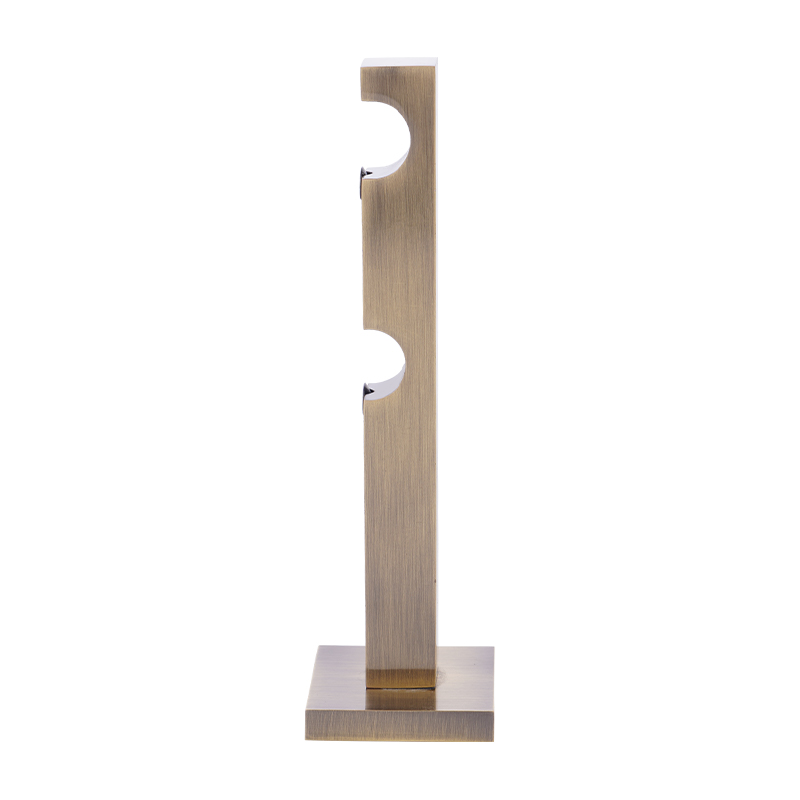
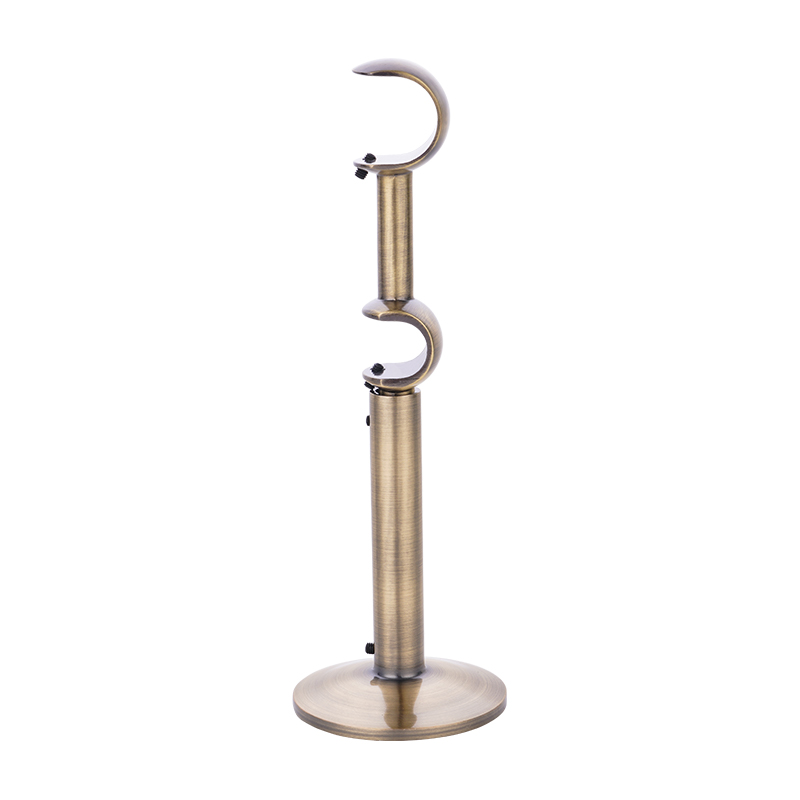 Extendable Curtain Bracket for Wall or Ceiling InstallationThis bracket works well where wall space is tight, letting you shift the support point without enlarging the gap between rod and wall. It suits baseboards or radiators and handles varied window types.View Product →
When wall space is tight, an extendable curtain bracket can shift the support point without increasing the gap between the rod and the wall, which is helpful over baseboards or radiators.
Rods, Rings, and the Hardware That Alters the Height
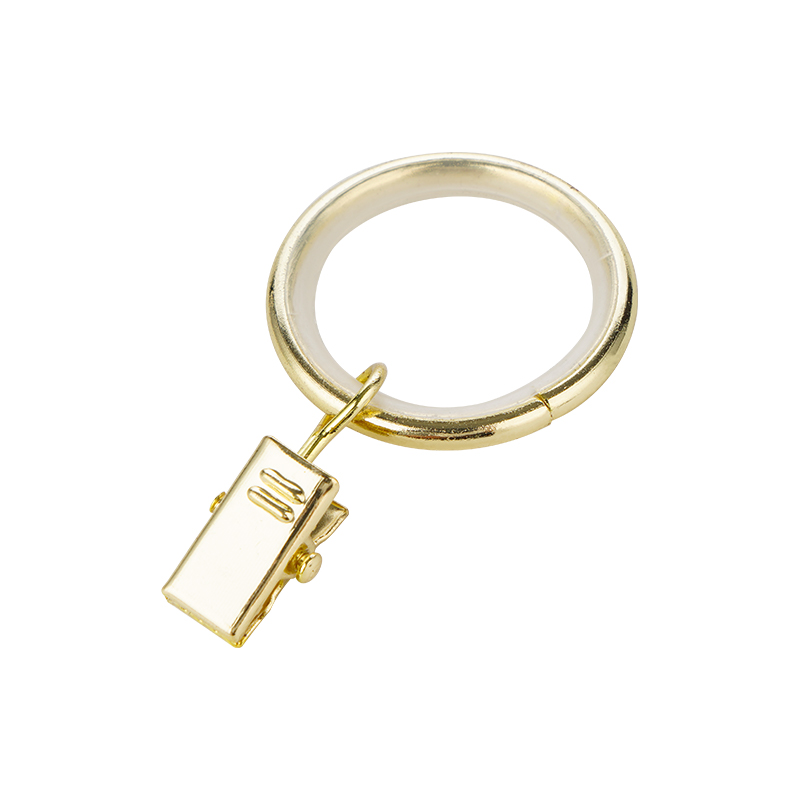
Rings with clips add 1 to 2 inches of lift, and oversized decorative rings add 2 to 3 inches. If you plan to use rings, measure from the bottom of the ring, not from the top of the rod, when you check the floor clearance.
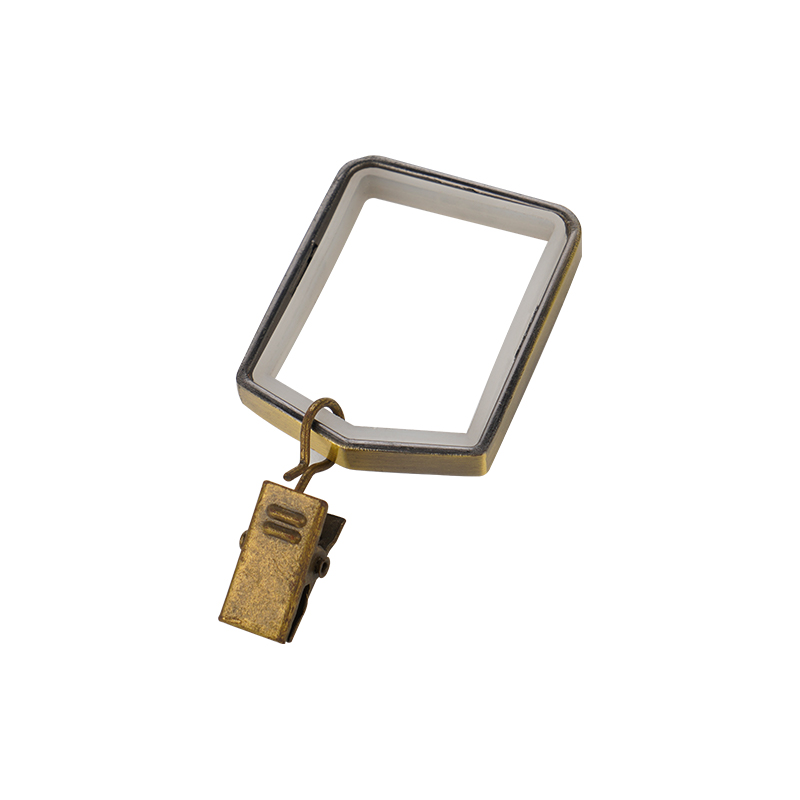 20mm Curtain Rings for Light to Medium CurtainsThese 20mm rings add a small lift when hung from a rod, so measuring from the bottom of the ring matters for floor clearance. They pair with light or medium curtains and slide smoothly on matching rods.View Product →
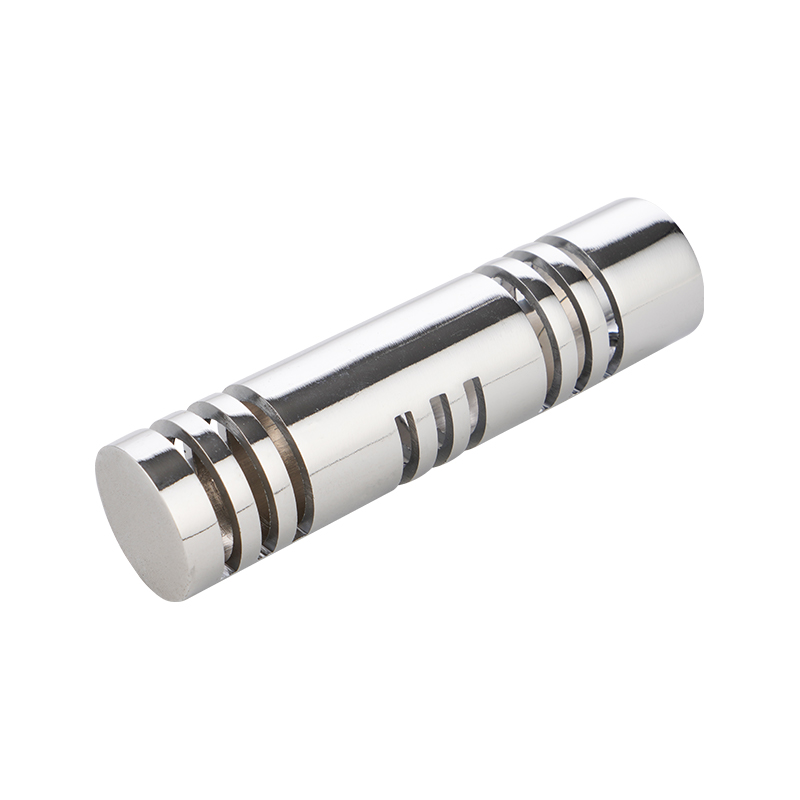
Rod diameter also plays a role. A 16 mm rod reads as light and suits cafe curtains; a 25 mm or larger rod feels substantial and pairs well with long panels in a formal room. Aluminum rods are a practical choice for long runs because they resist sagging with less weight than steel, and they come in plain, twisted, and square profiles that change the visual character without changing the installation height.
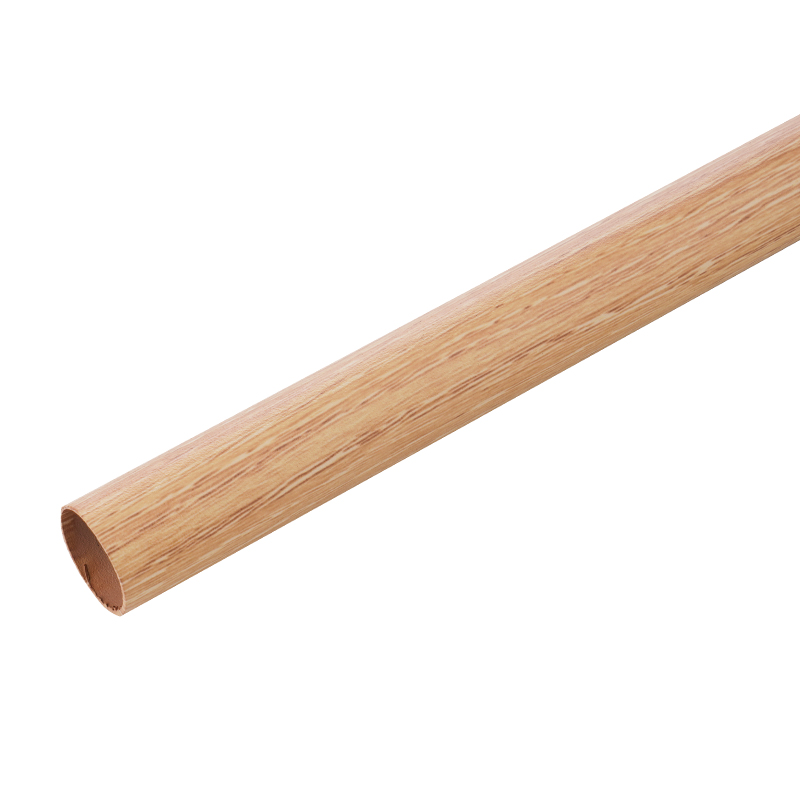 Lightweight Aluminium Curtain Rods with Decorative FinishesAluminum rods resist sagging over long runs while staying lighter than steel, and they come in anodized or powder-coated finishes. Available in different profiles, they suit both cafe curtains and formal long panels.View Product →
The profile of the tube matters as much as the material, so compare common curtain rod types before you settle on a diameter.
Common Mistakes That Ruin the Height
- Mounting below 4 inches above the frame. If the rod is less than 4 inches above the casing, the window looks cropped. Raise it.
- Ignoring finial clearance. Finials add 1 to 3 inches above the rod, so a rod placed 2 inches below the ceiling will collide with the ceiling in the finial area.
- Using mismatched heights in the same room. Align the top of the rod, not the bottom of the casing, across all windows.
- Buying the right height but the wrong width. Center the rod over the window and overhang equally so the curtain stack stays symmetrical.
- Skipping a center bracket on long spans. A rod that bows in the middle pulls the center of the curtain down and changes the apparent height across the window.
Quick Reference: Curtain Rod Height by Ceiling
Use the table below as a fast checklist before you mark the wall. The horizontal position always pairs with a 4 to 10 inch overhang on each side of the window.
| Ceiling condition | Rod position above frame | Notes |
|---|---|---|
| 8-foot flat ceiling | 4–6 in. | Most common setting; rod ends up 6–8 in. below the ceiling |
| 9-foot ceiling | 8–12 in. | Use the larger value when the window has tall casing |
| 10-foot and higher | 1/3–1/2 of the space between trim and ceiling | A ceiling mount works when wall space is limited |
| Crown molding | 4–6 in. below the molding | Keeps the crown visible and the vertical line continuous |
The right curtain rod height is one of the most cost-effective ways to improve a room's proportions. It requires no extra hardware, no special tools beyond a level and a stud finder, and it works with every rod and bracket style. Measure the casing, pick a height from the table above, and when you hesitate, choose the higher end of the range. The combination of a rod mounted 4 to 12 inches above the frame, a width that overhangs 6 to 8 inches on each side, and a floor clearance that matches the effect you want will make any window installation look deliberate.