English
 中文简体
中文简体
 русский
 Español

A 240-room hotel order arrives with 1,100 curtain rods, 2,200 brackets, and a two-week installation window. The difference between finishing on schedule and returning to 40 rooms usually comes down to one overlooked line item: the curtain rod installation tools in the installers' kits. The rod finish or finial style rarely causes a callback. Missing anchors, a short level, or the wrong drill bit does. Plan the tool set around the mounting surface, rod weight, and bracket design before the first hole is marked.
The Mounting Surface Sets the Tool List
Curtain rod installation tools are not a fixed shopping list. Drywall, plaster, concrete, brick, and wood studs each change the anchor, drill bit, and fastening method. A 25 mm rod with heavy blackout drapes may need toggle anchors in drywall, while a lightweight 16 mm rod in a bedroom can often use the supplied plastic anchors. In concrete, a hammer drill and carbide bit are mandatory. In old plaster, a stud finder may miss wood lath, so a magnetic finder or small test hole is more reliable.
The practical rule is simple: choose the fastening system first, then build the tool kit around it. If the bracket cannot reach a stud, the anchor must carry the load. If the rod spans more than 1.8 m, a center bracket is usually required to prevent sag. If the ceiling height is above 2.7 m, a platform step ladder is safer than a chair or a standard A-frame ladder.
Tool Categories at a Glance
The tree below organizes the most common tools by task. It is a useful checklist for installers, property managers, and importers who assemble kits for retail or contract projects.
- Measuring and marking
- Tape measure with metric and imperial markings
- Pencil or fine marker
- Spirit level, 600 mm to 900 mm
- Laser level for long or repeated runs
- Drilling and fastening
- 18 V cordless drill or hammer drill
- Twist bits, masonry bits, and hole saws
- Stud finder or magnetic locator
- Wall anchors, toggle bolts, and screws
- Cutting and finishing
- Hacksaw with fine-tooth blade or pipe cutter
- Metal file or sandpaper for deburring
- Touch-up paint or wall filler
- Access and safety
- Step ladder or platform ladder
- Safety glasses and work gloves
- Magnetic bit holder or screw cup
Core Curtain Rod Installation Tools and Selection Notes
Most installation failures are not caused by a lack of tools. They come from using the wrong version of a common tool. A 300 mm level can set a single bracket, but it cannot confirm a 3 m rod is level across three brackets. A drill with a dull masonry bit will overheat and enlarge the hole, weakening the anchor. The table below lists the core tools and the details that matter in bulk purchasing or installer training.
| Tool | Primary use | Buyer or installer note |
|---|---|---|
| Tape measure | Measure window width, rod length, and bracket spacing | Choose one with clear 1 mm or 1/16 in markings; cheap tapes can differ by 2-3 mm over 3 m |
| Spirit level | Level each bracket and the final rod | Use 600-900 mm for single windows; use a laser level for repeated hotel or apartment runs |
| Stud finder | Locate wood or metal studs behind drywall | Test on a known wall first; thick plaster and metal lath can confuse low-cost models |
| Drill and bits | Drill pilot holes and anchor holes | Keep separate bits for wood, drywall, and masonry; a hammer drill is required for concrete |
| Wall anchors | Secure brackets when no stud is available | Match anchor to load and wall type; toggle bolts hold more than plastic plugs in drywall |
| Screwdriver or bit driver | Tighten bracket screws and finials | A magnetic driver reduces dropped screws behind furniture and radiators |
| Hacksaw or pipe cutter | Trim rods to size | Use a fine-tooth blade for aluminum; deburr cut ends so rings and brackets slide smoothly |
| Touch-up paint or caulk | Hide old holes and small wall gaps | Keep a small kit for occupied homes and hotel rooms; color match matters |
How Bracket Design Changes the Tool Kit
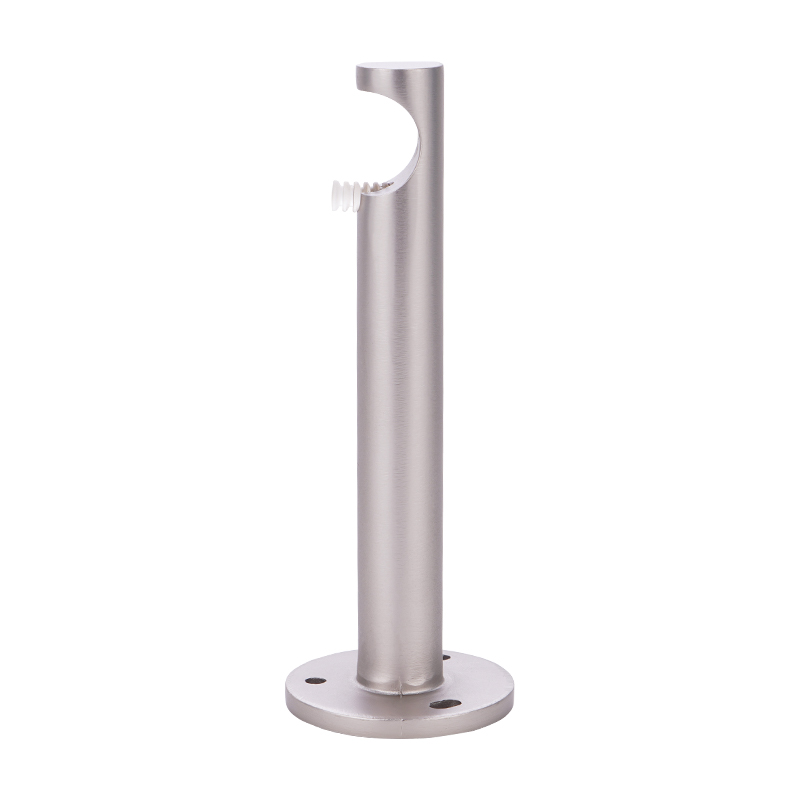
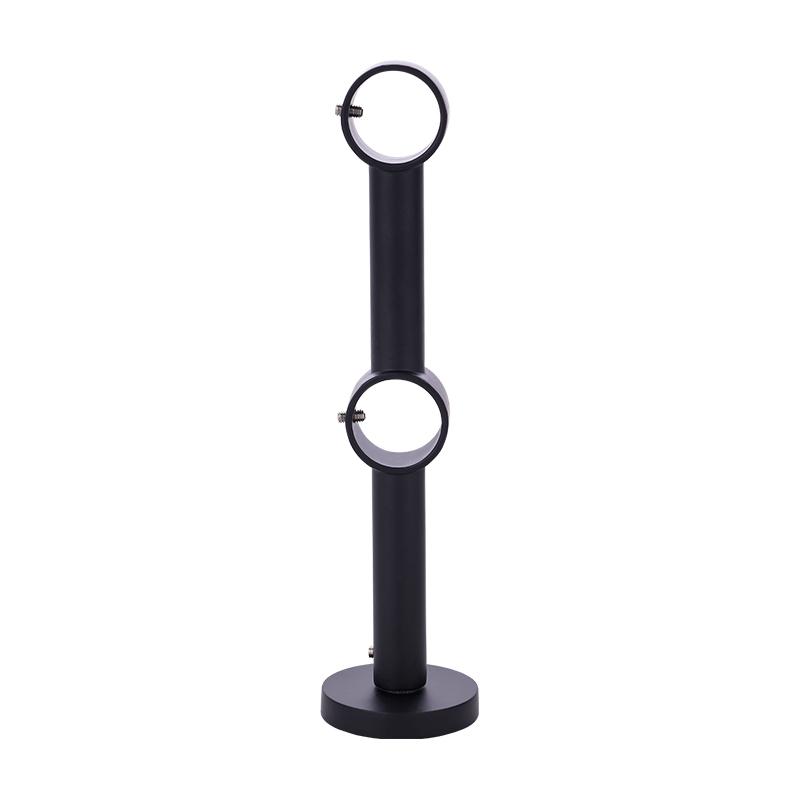
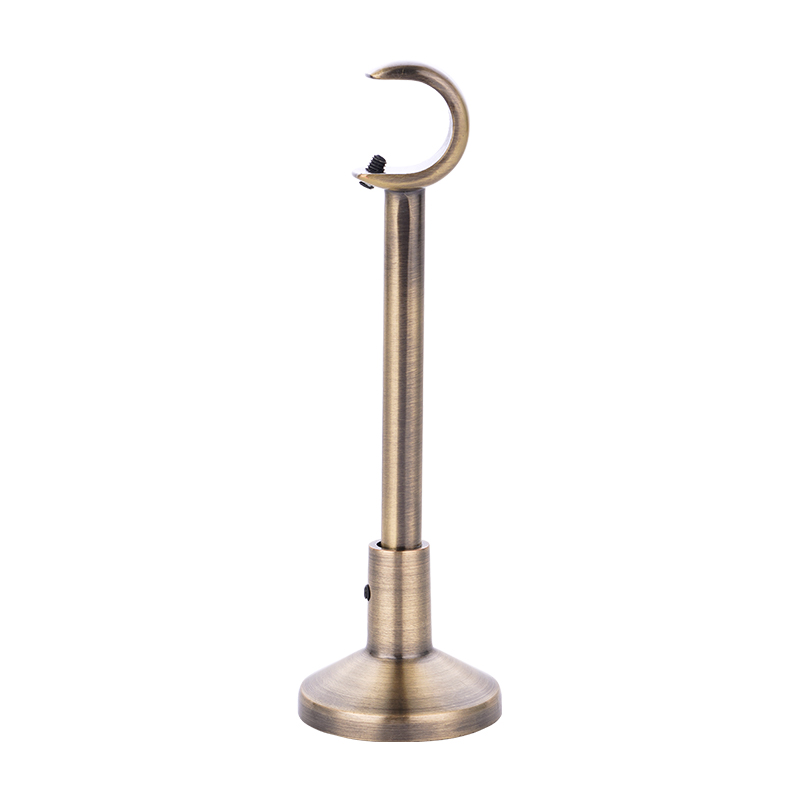
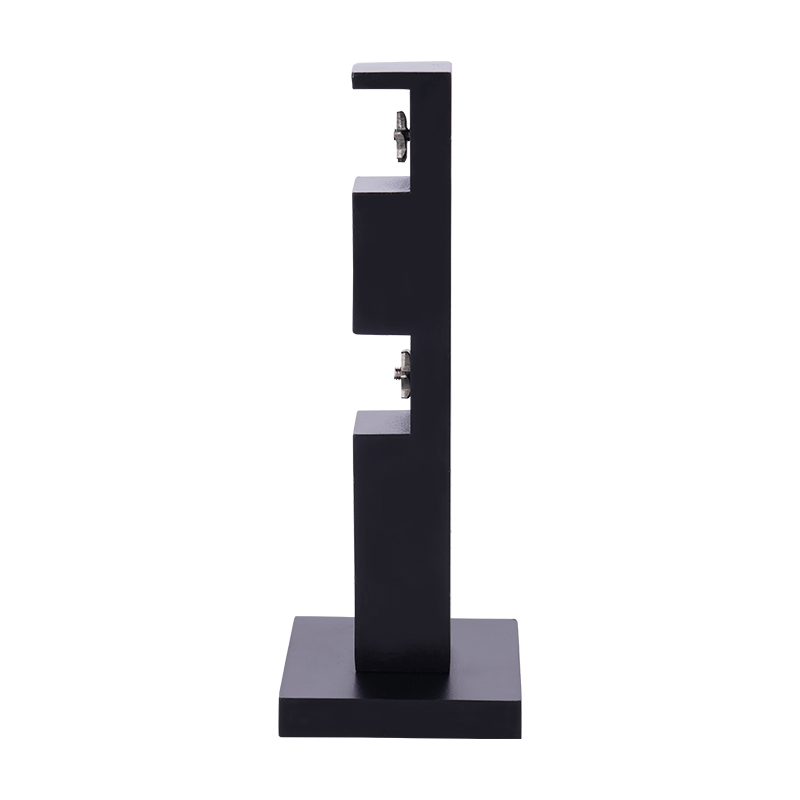
Brackets are not interchangeable hardware. A wall bracket fixes the rod to the wall and sets the projection from the window. A ceiling bracket mounts the rod above the window, which is common in tall rooms or when curtains must clear a radiator. An extendable bracket allows the installer to adjust the distance from the wall after the base is fixed, which reduces the risk of drilling new holes when heavy curtains are added later.
For wall-mounted projects, confirm the bracket base is wide enough for the anchor pattern. Small bases can split drywall or sit unevenly on textured plaster. The screw length should pass through the bracket, the wall finish, and into the anchor or stud without bottoming out.
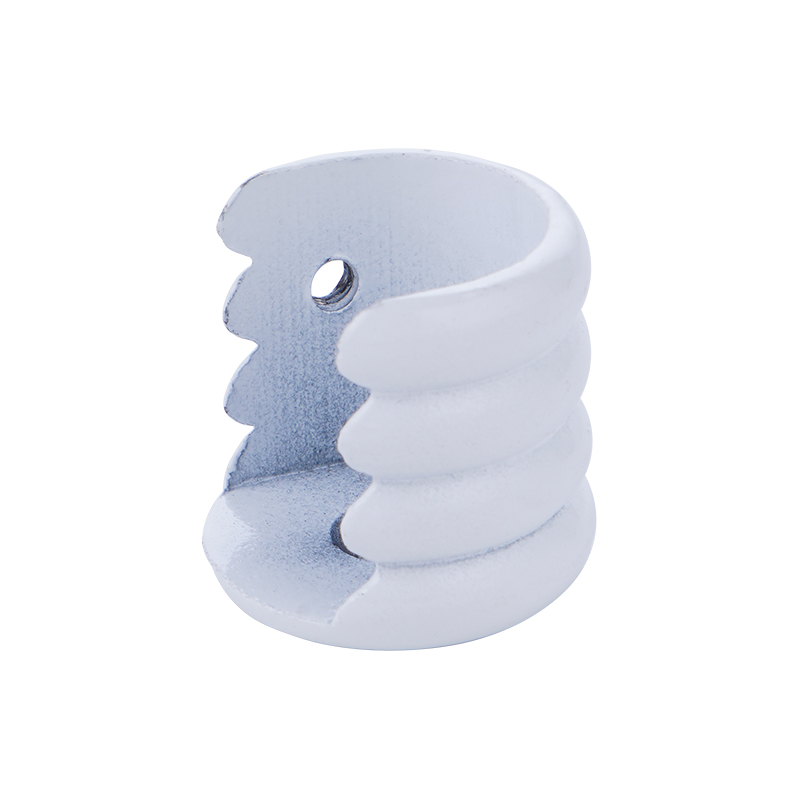 Curtain Wall Brackets for Facade Support and ConnectionsReview this bracket range for wall-mounted curtain wall installation, including vertical, horizontal, corner, and fixing components for stable connections.View Product →
Ceiling brackets require a different sequence. The installer must mark the ceiling with the rod parallel to the window, then check that the curtain will clear the window frame and any curtain track. A laser level or chalk line is more useful here than a short spirit level because the ceiling may slope.
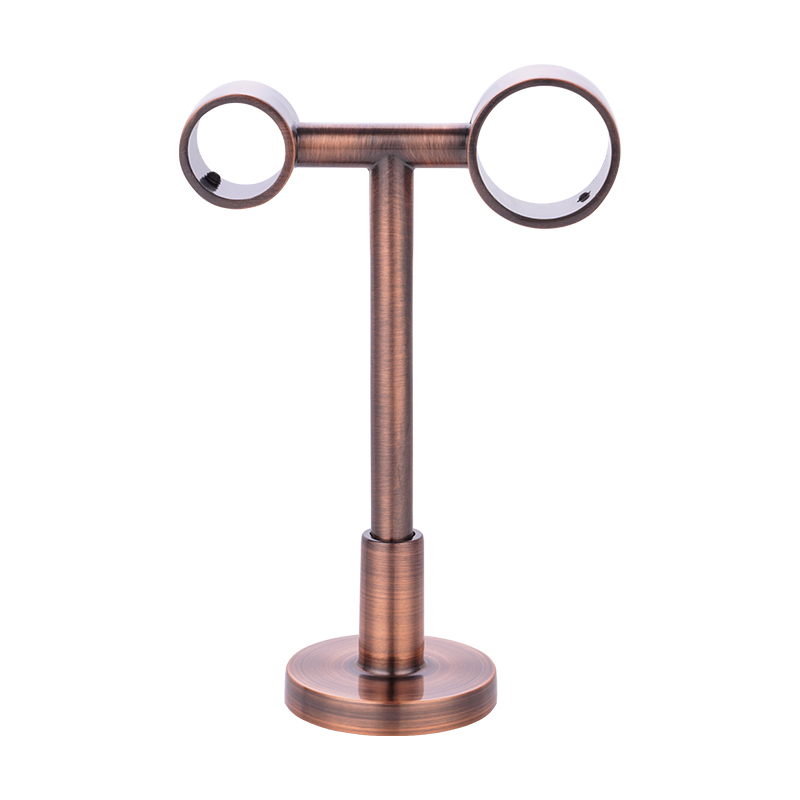 Ceiling-Mounted Curtain Brackets for Tracks and Hanging RodsCompare ceiling-mounted bracket types for single-layer, double-layer, and rod curtains, with options for custom track lengths and wall fixing.View Product →
Extendable brackets are useful when the wall surface is uneven or when the customer has not decided on curtain thickness. The installer can set the base, then adjust the rod projection by 20-50 mm without moving the anchor points.
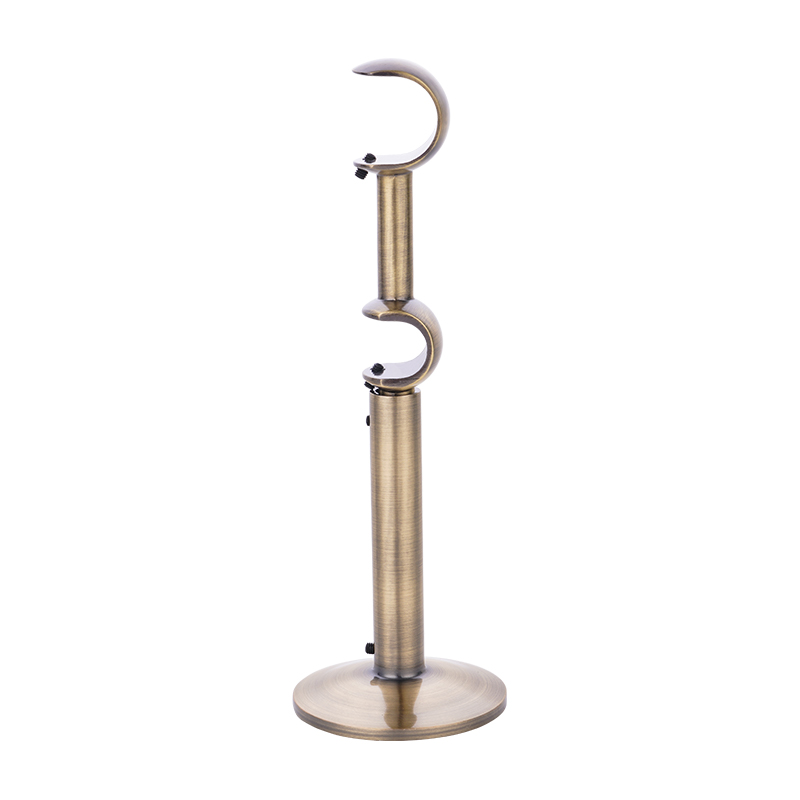 Adjustable Curtain Brackets for Wall or Ceiling MountingAdjustable brackets suit wall, ceiling, or window-frame mounting, helping fit various window widths and curtain weights while keeping installation neat.View Product →
Installation Sequence and Tolerance Checks
A repeatable sequence keeps measurement errors small. The numbers below reflect typical residential and hotel installations, but the final tolerance depends on rod length, curtain weight, and wall type.
- Measure the window width and add 100-200 mm on each side for stacking space.
- Mark the bracket height. For eyelet curtains, the rod usually sits 100-150 mm above the window frame; for pencil pleat curtains, allow the heading to cover the track or rod.
- Find and mark studs. If no stud is available, mark anchor positions and check that they are at least 50 mm from the window frame and 75 mm from ceiling or floor trim.
- Drill pilot holes with the correct bit. For concrete, use a carbide bit and vacuum dust before inserting anchors.
- Fix the brackets. Check level across all brackets, not only between two neighboring points.
- Assemble the rod, rings, finials, and connectors. Trim the rod if needed, then deburr the cut end.
- Place the rod in the brackets and test the curtain movement. Adjust bracket projection or center support if the rod bows.
- Touch up wall marks and test the curtain pull. A 5 mm height difference over 2 m is visible on floor-length curtains.
Procurement Checklist for Installers and Importers
For contractors, the tool list is only one part of the job. The bracket and rod specification must match the installation method. A bracket that is easy to install in a showroom may be slow on site if the base is too small, the screw holes are misaligned, or the finish chips during tightening. When sourcing in volume, ask for sample brackets and test them with the intended anchor type.
- Confirm rod diameter and bracket opening match. A 25 mm ring will not fit a 28 mm rod.
- Check whether the bracket includes a plastic insert, rubber pad, or metal sleeve to protect the rod finish.
- Verify screw and anchor quantities per bracket. Missing fasteners create site delays.
- Ask for tolerance data on rod length, tube straightness, and bracket hole spacing.
- Test the finish after tightening. Electroplated and painted surfaces should not crack under normal screw pressure.
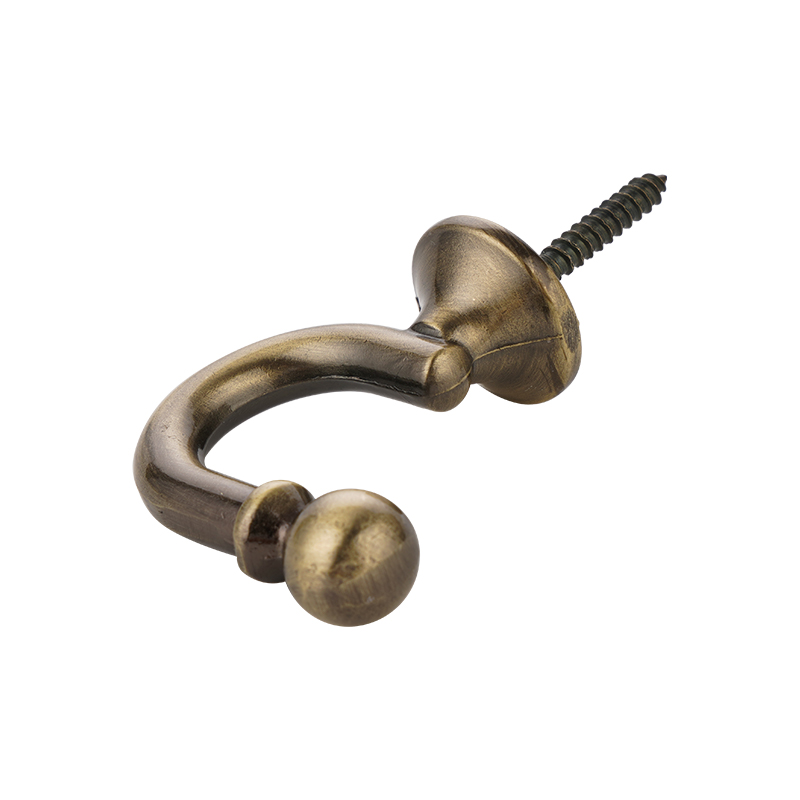
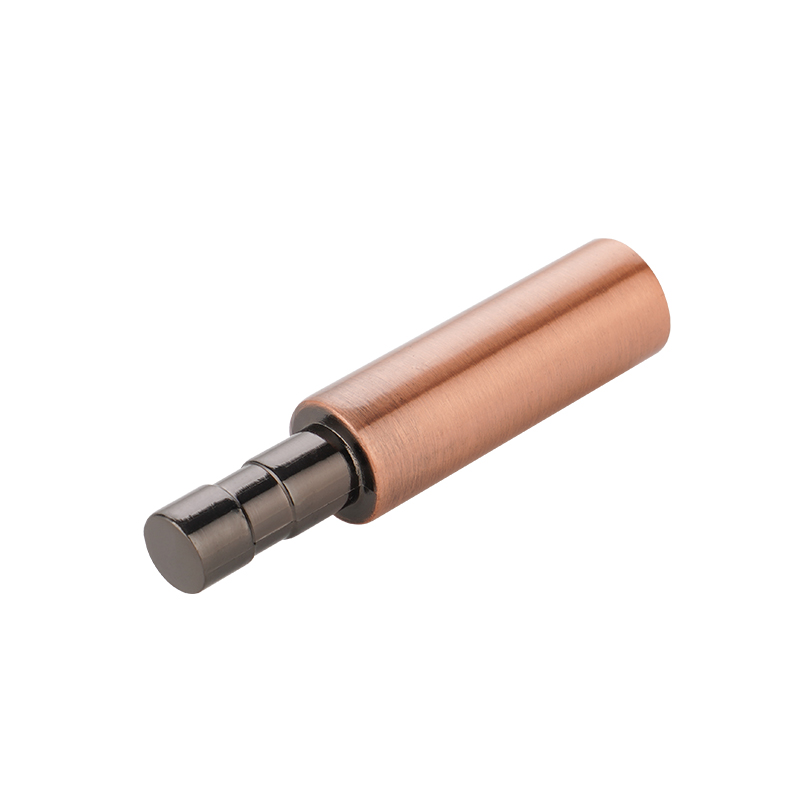
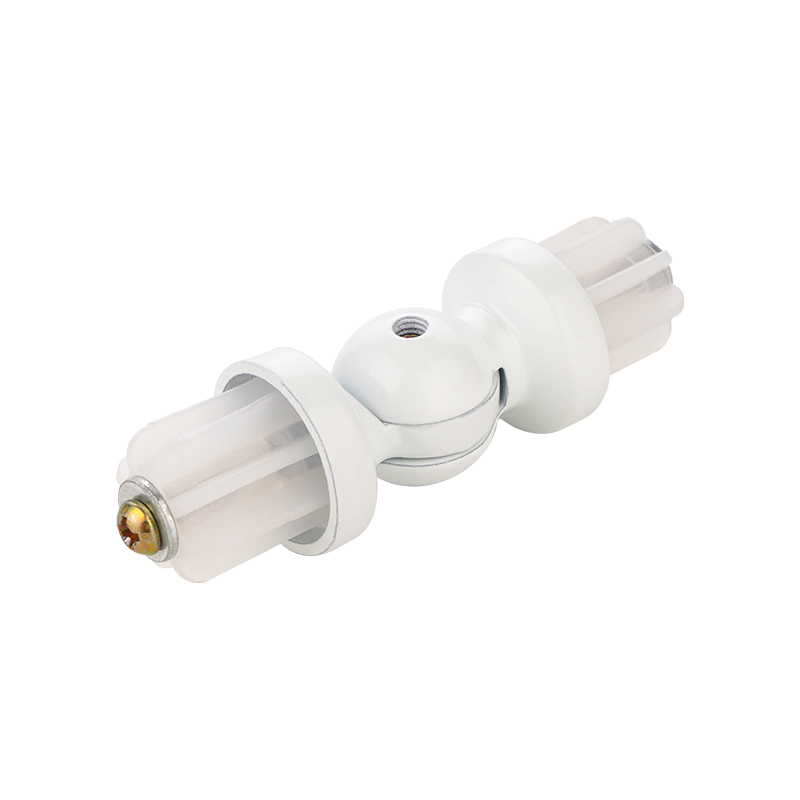
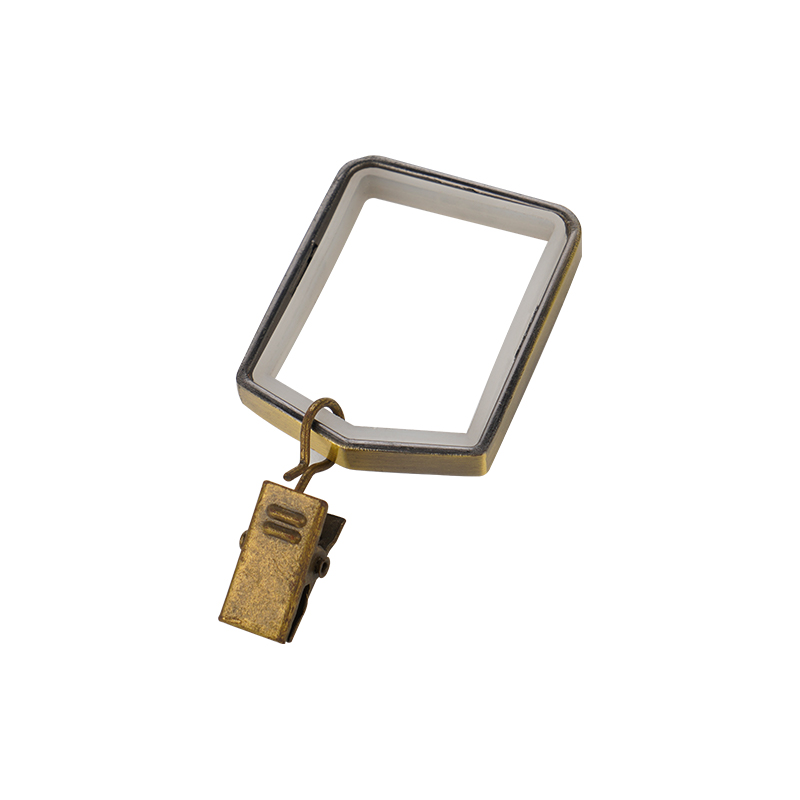
- Plan for spare finials, rings, and connectors. These small parts often disappear on large projects.
For projects with mixed window types, a single bracket style may not work. Choose the right curtain bracket by curtain type before ordering anchors, because a ceiling mount and a wall mount need different marking tools and fastening plans.
What Belongs in a Standard Installation Kit
A practical kit for one installer covers most residential jobs without becoming heavy. Include a 5 m tape measure, 600 mm spirit level, stud finder, 18 V drill with wood and masonry bits, magnetic bit holder, screwdriver, adjustable wrench, hacksaw, file, safety glasses, and a small pouch of wall anchors and screws. Add a laser level for multi-window contracts and a platform ladder for ceilings above 2.7 m.
For OEM or private-label projects, packaging matters as much as the tool list. Bulk packs of anchors, screws, and brackets reduce loose-part loss. Blister packs suit retail, while PVC set packs work for contract installers who open multiple kits per day. The manufacturer should confirm the rod, bracket, ring, hook, and connector dimensions as a system, not as separate parts.
The best curtain rod installation tools are the ones that match the wall, the rod weight, and the bracket design before work begins. Measure the surface, choose the anchor, check the bracket projection, and keep the level checks repeatable. That approach reduces callbacks, protects the finish, and keeps large installations moving without unnecessary returns to the same room.