English
 中文简体
中文简体
 русский
 Español

Before you order another set of curtains, measure the spot under the rod, not the window glass. Most sizing problems happen because the frame is not the support point. When a drapery panel is hung on a rod, its width is controlled by the rod length and the amount of fabric gathered, not the window size. And the finished length is measured from the top of the rod or rings, not from the ceiling. As a manufacturer of curtain rods and window-treatment hardware since 2006, we have reviewed thousands of custom order forms with exactly these mistakes. This guide gives you the four numbers every curtain project needs: rod width, finished length, fullness factor, and hardware capacity. Keep a metal tape measure, a pencil, and a stepladder ready; measure to the nearest 1/8 inch, and record numbers directly on a sketch of the window.
Step 1: Set the rod position, then measure width
Curtain width starts with where you mount the rod, not with the window size. Install the rod 4 to 6 inches above the window frame, or roughly halfway between the top of the frame and the ceiling. Extend the mounting hardware 4 to 8 inches beyond the frame on each side so the panels can stack when fully open. For a typical 36-inch window, that makes the rod width between 44 and 52 inches. If you use a curtain track, measure the installed track end to end; the track itself is the true support and the fabric will run along it.
| Window frame width | Recommended rod width |
|---|---|
| 28 in | 36–44 in |
| 36 in | 44–52 in |
| 48 in | 56–64 in |
| 60 in | 68–76 in |
Windows are rarely perfectly symmetrical, so measure the frame width at the top, middle, and bottom. Use the widest reading as the base for adding the side overhang. Do not let the rod span too long without support. For any width above 60 inches, plan a center bracket to prevent the rod from bowing under the fabric. Bracket selection is just as important as the rod itself; see how to choose the right curtain bracket according to the curtain type before you lock in the hardware position.
Step 2: Measure the finished length from the rod, not the floor
Your curtains hang from the rod or a track header, so measure from that suspension point down to the desired end point. For a standard floor length, place the end of the tape on the top of the rod if you use grommets, or on the bottom of a ring, and pull it to the floor. Subtract 1/2 inch so the hem floats just above the floor. For a sill-length curtain, measure to the sill and add 1/2 inch. For a track, measure from the top of the track or from the track glider if the fabric hangs below.
| Header style | Measure from | Finished length |
|---|---|---|
| Grommet | Top of the rod | Floor minus 1/2 in or sill plus 1/2 in |
| Pleated or pinch pleat | Top of the rod or track | Floor minus 1/2 in or sill plus 1/2 in |
| Rod pocket | Top of the rod, plus extra header allowance | Floor minus 1/2 in + header height |
| Tab top | Top of the rod to the bottom of the tab | Floor minus 1/2 in + tab drop |
Because floors and window frames are not perfectly level, take the vertical measurement at the left, center, and right sides of the window. Use the shortest measurement for a neat float; if you want a puddle effect, add 4 to 8 inches to the longest measurement instead.
Step 3: Calculate fullness and number of panels
Fullness is the ratio of finished fabric width to rod width. Without enough fabric, the panels look flat and leave gaps. A standard grommet panel needs about 1.5 times the rod width; pleats usually need 2 times; sheers and ripplefold headings often need 2.5 to 3 times. Once you know the total fabric width, divide by the number of curtain leaves you want and check that each leaf meets the available panel width.
| Header style | Fullness factor |
|---|---|
| Grommet | 1.5–1.8 |
| Pinch pleat | 2.0–2.2 |
| Rod pocket | 1.5–2.0 |
| Sheer / ripplefold | 2.5–3.0 |
Work through the calculation in order:
- Multiply the rod width by the fullness factor to get the total fabric width.
- Divide the total fabric width by the number of panels you want, usually two for a standard window.
- Round each panel up to the next available width.
- If one panel exceeds the available width, increase the number of panels per side.
Example: a 48-inch rod with a 2.0 fullness factor needs 96 inches of fabric. For a pair of curtains, each side should be 48 inches wide. If the ready-made panel width is only 40 inches, order two panels per side, or choose a wider fabric width rather than accepting lower fullness.
Step 4: Match rod diameter, brackets, and rings to the fabric weight
Now that you know width, length, and fullness, you can estimate the weight the hardware must carry. Light sheers work with rods of 16–19 mm; medium curtains such as cotton or linen blends are fine with 20–22 mm; heavy blackout fabrics should use a 25 mm rod or a track system. Always check the bracket rating and the rod diameter together; a heavy rod on a lightweight bracket is unsafe.
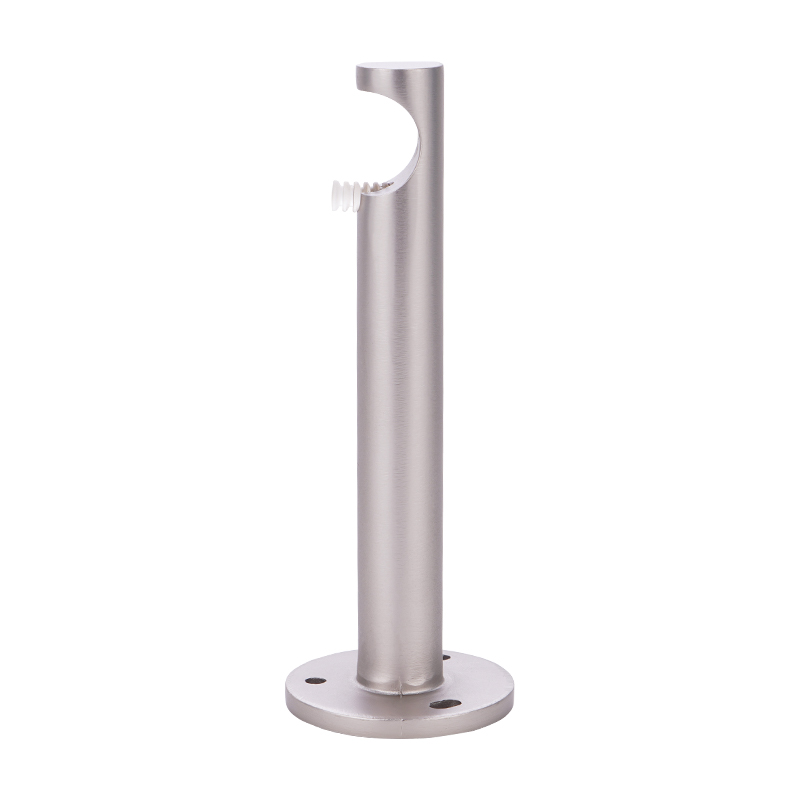
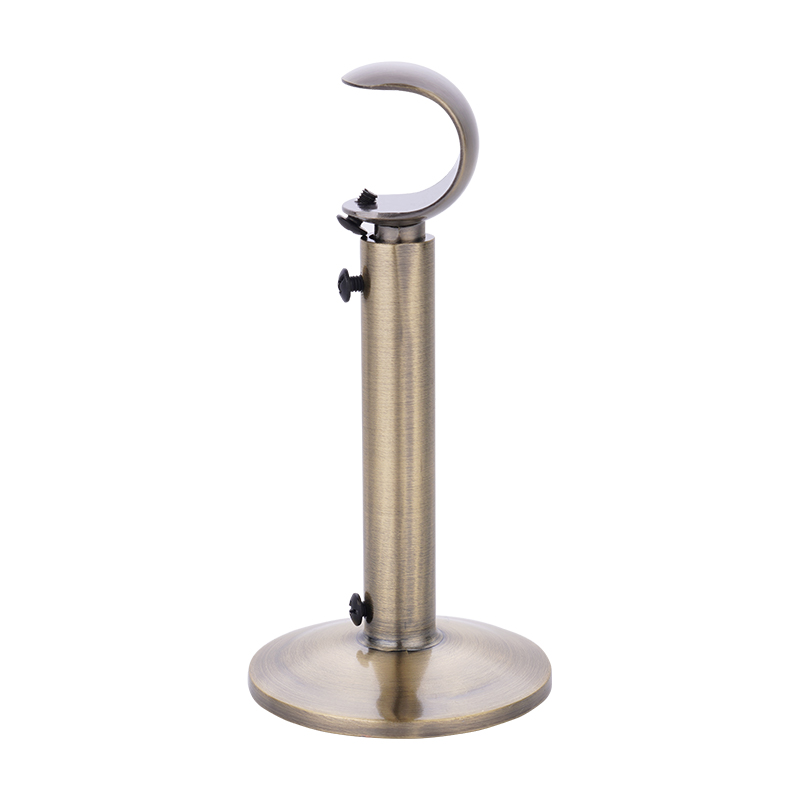
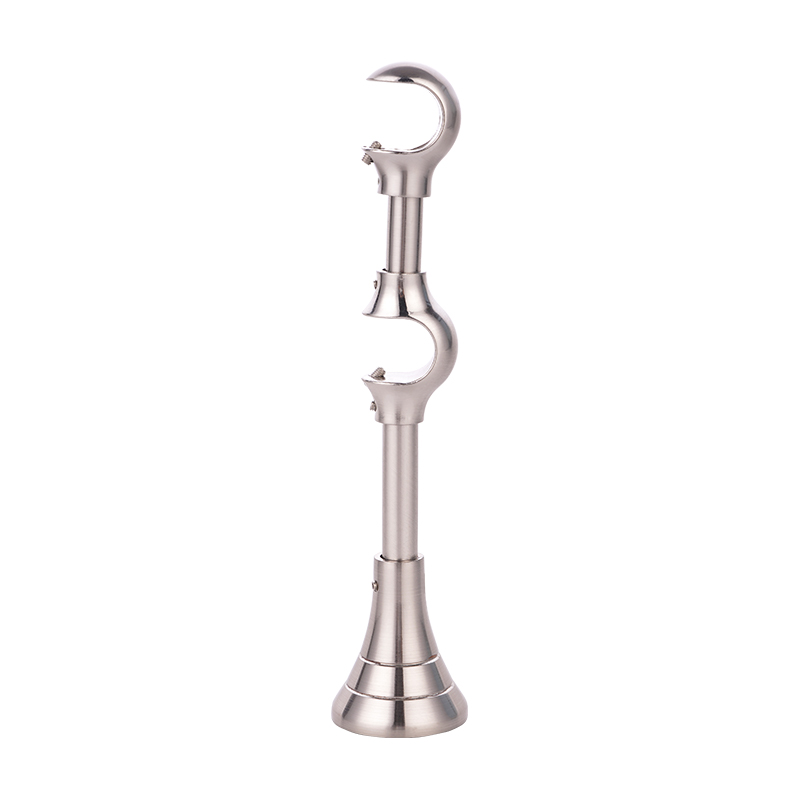
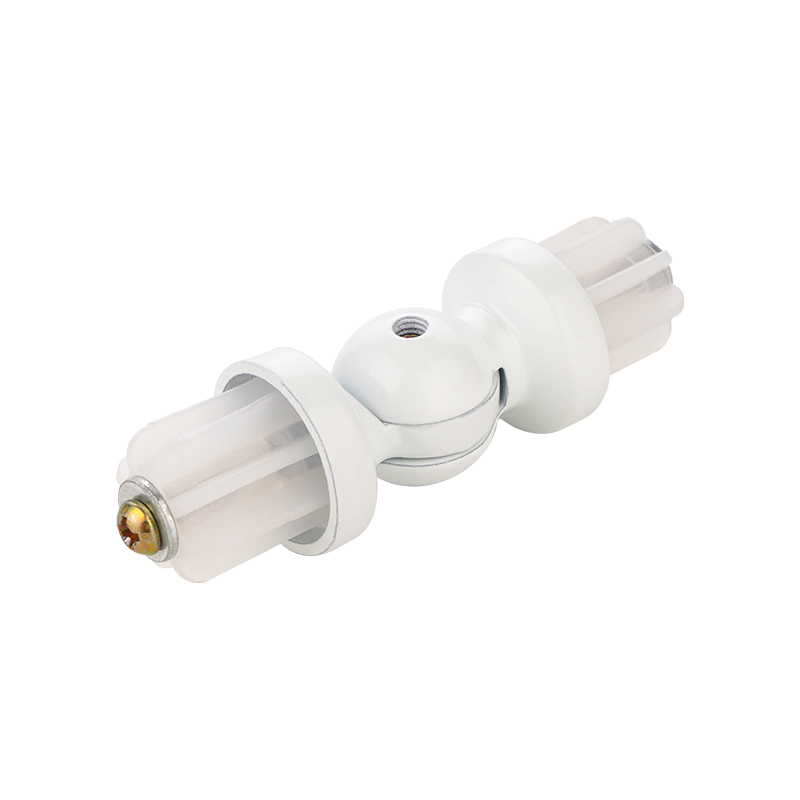
For long spans, an extendable bracket or a wall-mount bracket with a slotted face gives you some horizontal adjustment after the holes are drilled. This helps when your window frame is not perfectly centered or when you need to fine-tune the rod from side to side.
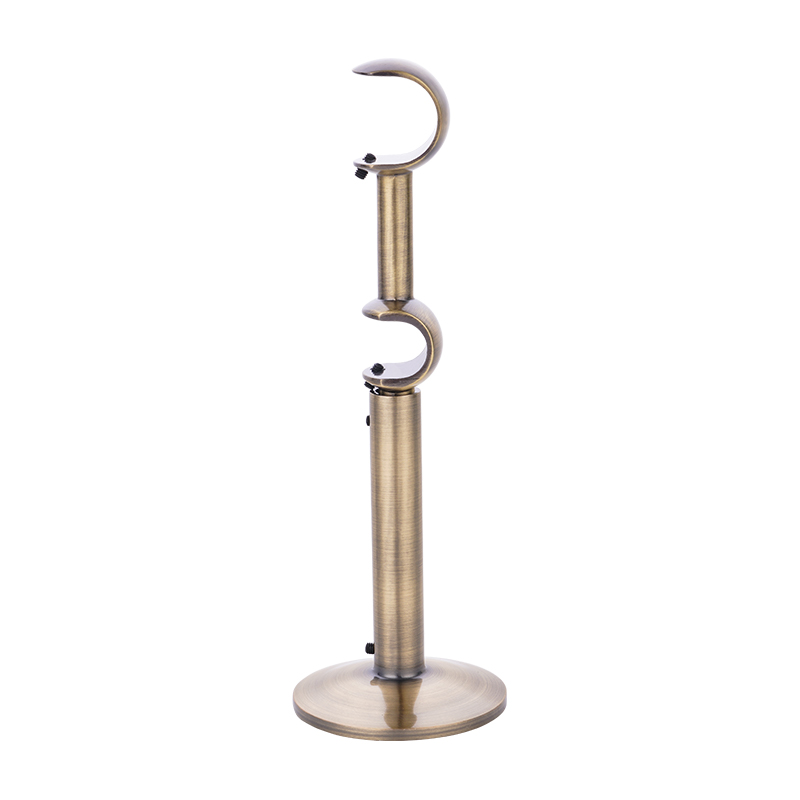 Adjustable Curtain Extendable Bracket for Wall or Ceiling MountThis bracket supports long curtain spans and offers horizontal adjustment after drilling, helping you correct off-center windows or fine-tune rod placement during installation.View Product →
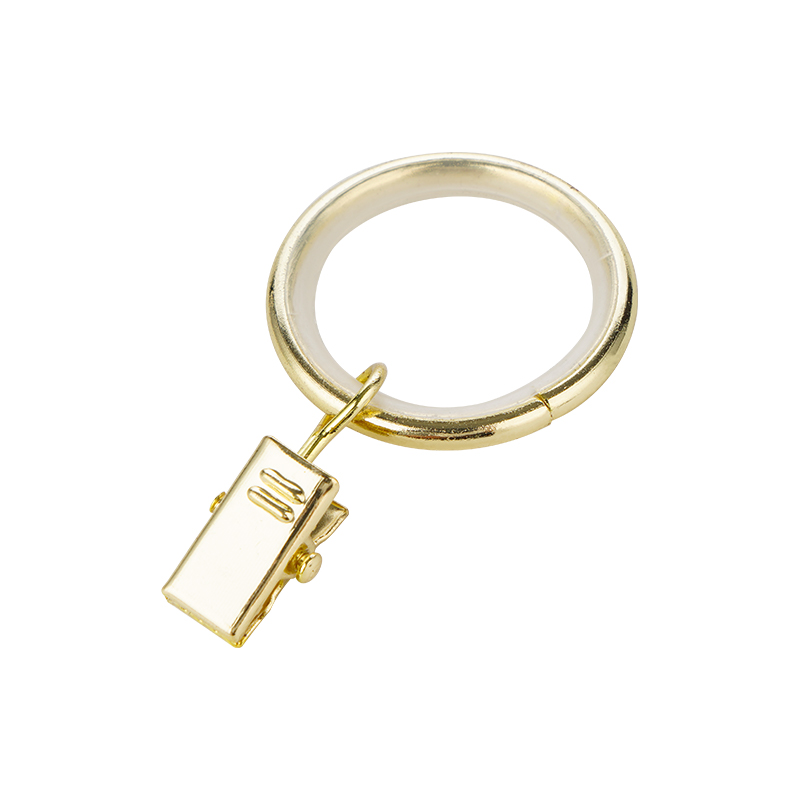
Rings should be a little larger than the rod’s outside diameter, typically 2 to 3 mm bigger, so they glide without scraping. Match your curtain rings to the rod surface and the header style; for instance, a 19 mm ring usually suits a 16 mm rod with a bit of play.
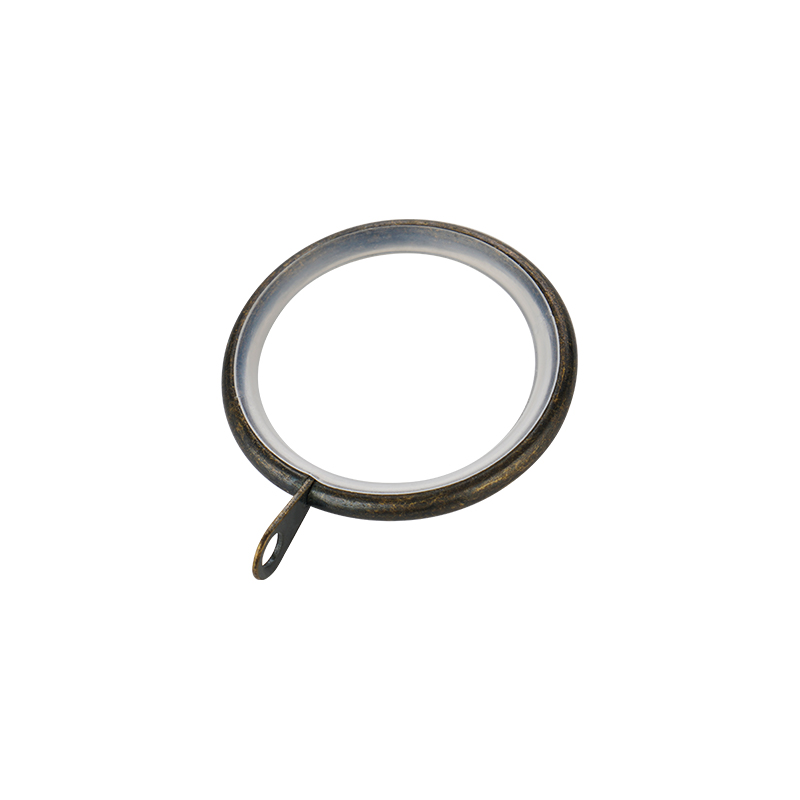 19mm Curtain Rings for Smooth Gliding on Standard RodsThese rings are sized about 2–3 mm larger than a 16 mm rod, providing smooth movement without scraping. They suit various headers and help curtains glide easily.View Product →
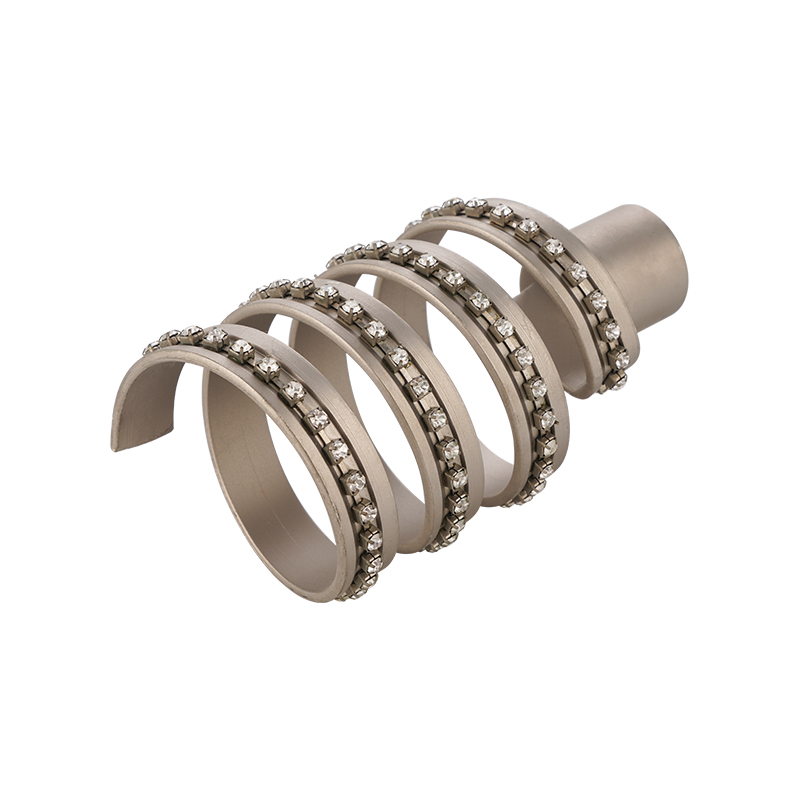
Don’t overlook finials. They close the rod ends and add a decorative stop for the rings, but they should not block the ring path. When the final holder is a decorative ball or crystal piece, measure the socket depth and the junction between finial and rod so the finial sits flush and the last ring still reaches the edge of the drapery.
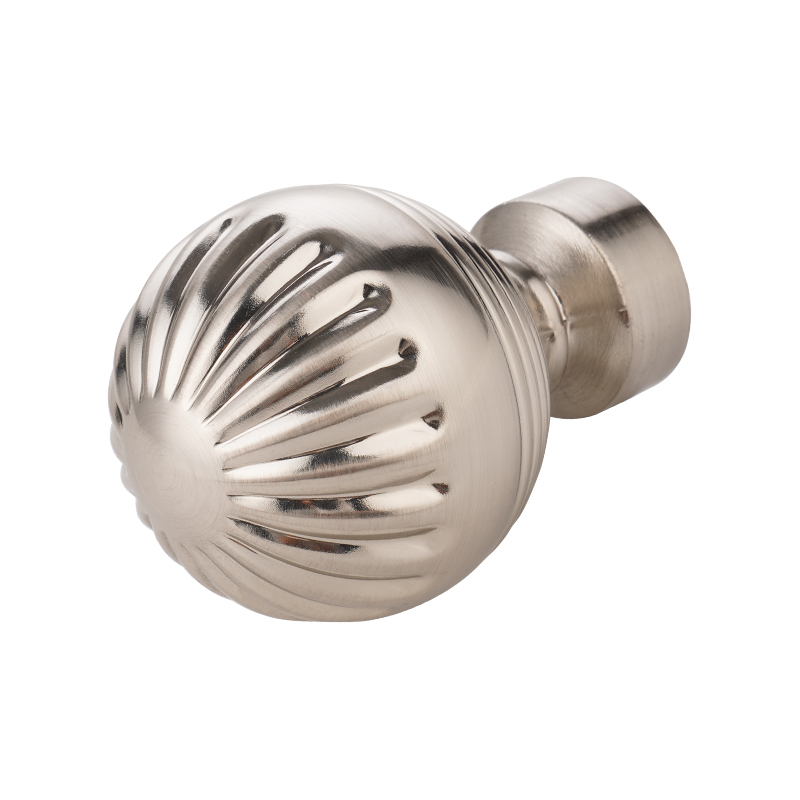 Ball Finial Curtain Rod with Decorative End StopsThis rod features spherical finials at both ends, adding a decorative stop while preventing curtains from sliding off. Ideal for completing a curtain setup with a clean, finished look.View Product →
Step 5: Avoid these common measuring mistakes
- Measuring the window frame width as the rod width; add the side extensions first.
- Measuring the floor clearance before the rod is mounted; use the actual suspension point.
- Using one length measurement on an uneven floor; measure at multiple points and use the shortest or longest intention.
- Forgetting the header height on rod-pocket curtains; the finished length changes by the header allowance.
- Choosing a thin rod for heavy blackout fabric; the rod bows and the brackets may loosen.
- Ignoring stackback; open curtains need rod length beyond the frame to clear the window completely.
For procurement teams, the most important specification to put on the order is the final rod width and the fullness factor, not just the window size. State the finished length from the rod or track header, the number of panels per span, and the bracket count. With those numbers, a contractor can avoid cutting, returns, and installation delays.
In four steps, you have the full picture: rod position determines width, the rod-to-floor distance determines length, fullness gives you the fabric amount, and the hardware capacity tells you whether the rod, rings, and bracket will last. Measuring is a short task that removes all the guesswork from the purchase order.