English
 中文简体
中文简体
 русский
 Español

Achieving flawless window drapery performance requires a rigorous understanding of the load limits, material physics, and structural options associated with modern curtain rods. Far from being a mere aesthetic accent, the curtain rod operates as a critical load-bearing lintel tasked with supporting dense textiles across wide spatial spans without bending or pulling away from the wall. Selecting an optimized setup means carefully evaluating tube wall thickness, material yield strength, dynamic gliding interfaces, and anchorage methods to guarantee absolute long-term durability and smooth functional operation.
Structural Typologies and Mechanical Profiles of Hanging Rods
The engineering framework of window hardware is divided into several clear physical categories, each uniquely designed to handle specific weights, architectural layouts, and fabric movement styles. Choosing the right style directly affects the weight capacity and longevity of the entire window treatment.
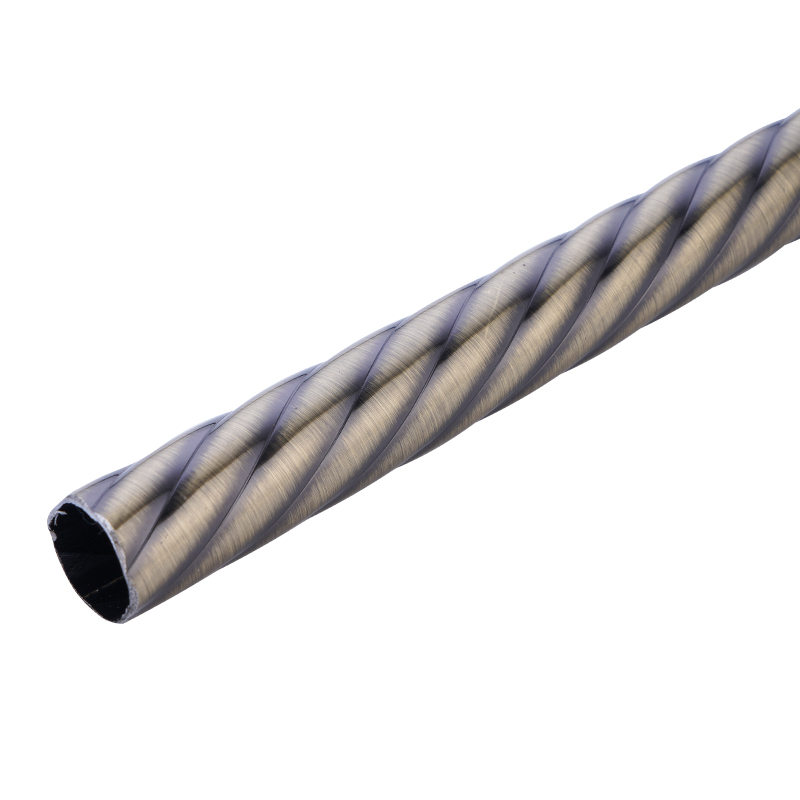
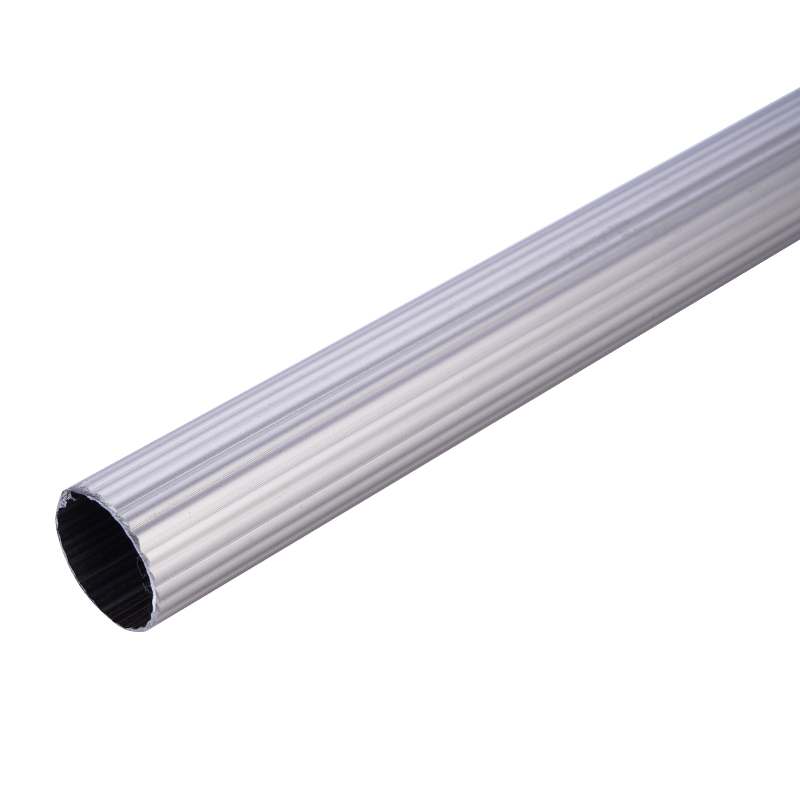
The most versatile standard setup is the solid or heavy-gauge tubular pole system, which supports fabric panel rings, grommets, or rod-pocket pleats. For more intricate configurations, specialty variants are substituted:
Telescoping vs. Single-Piece Continuous Rod Geometry
Rods generally utilize one of two structural configurations, which alters how weight is distributed across their lengths:
- Telescoping Rods: Feature a smaller diameter tube that slides inside a larger outer tube, providing adjustable length options. While highly convenient for shipping and resizing, the internal overlap seam creates a minor structural weak point and a mechanical lip that can catch fabric rings during manual pulling.
- Single-Piece Continuous Rods: Custom-cut from a uniform metal cylinder. Because they feature a completely smooth surface with no step-down seam, they offer superior structural strength, zero ring catching, and significantly higher resistance to sagging over spans exceeding 96 inches.
Traverse Rod Track Architecture
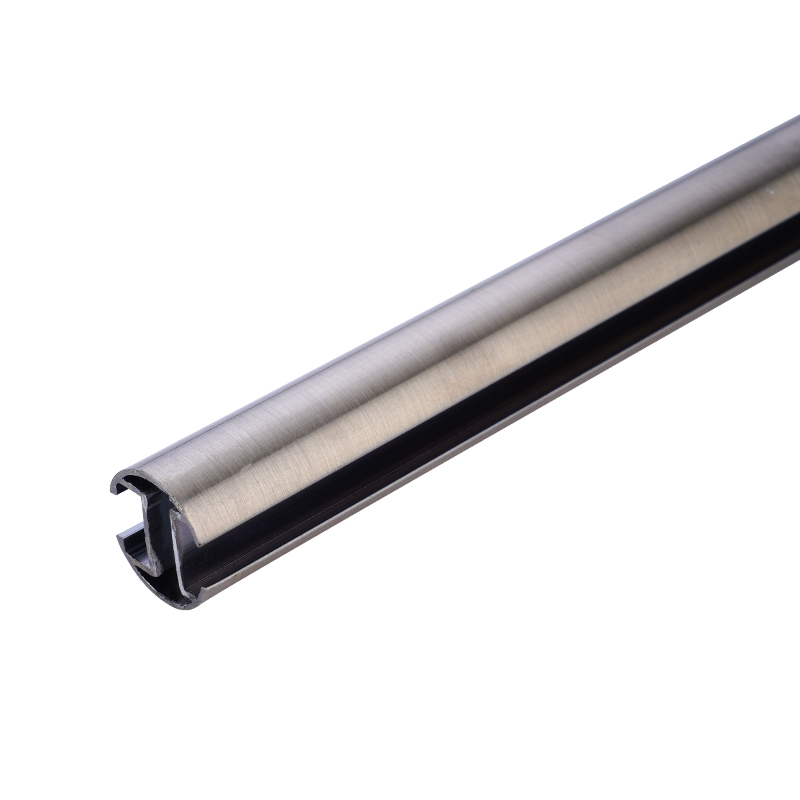
When managing exceptionally heavy draperies or ceiling-high commercial installations, automated or manual cord-driven traverse tracks are used instead of classic exposed rods. These systems house an internal pulley network and slide carriers within an enclosed aluminum channel. Because the brackets fasten directly along the top or rear spine of the track without blocking the path of the drapery carriers, traverse tracks can span infinite horizontal distances using intermediate supports, while keeping the structural framework fully hidden behind the drapery header.
Material Metallurgy and Deflection Mechanics
When a long rod is supported at its outer ends, the weight of the fabric pulls downward, subjecting the center of the pole to maximum bending moment stress. The rod's ability to resist sagging is a direct function of its material composition and cross-sectional wall thickness.
Industrial fabrication relies primarily on carbon steel, structural aluminum, or solid brass alloys. Thin-walled, cold-rolled steel rods under 0.6 mm in thickness are highly susceptible to elastic deformation and permanent bowing if loaded with lined thermal curtains. Upgrading to a heavy-gauge tube with a wall thickness of 1.2 mm or thicker exponentially increases the pole's rigidity, minimizing bowing and keeping it straight even under heavy, dynamic pulling forces.
Friction Coefficients and Gliding Surface Treatments
The surface finish of a curtain rod dictates the level of frictional resistance generated when opening and closing draperies. Raw iron or unlacquered finishes can oxidize, developing microscopic surface roughness that damages fabric loops and increases pulling resistance. Applying a premium electroplated finish or a baked polymer powder coating creates a hard, ultra-smooth outer surface that minimizes wear and allows rings to glide silently with minimal effort.
Engineering Specifications and Load Performance Matrix
To guarantee an installation remains safe and structurally sound, designers must match the rod's outer diameter and material class with the exact weight of the intended textiles. For example, thick blackouts or interlined velvet drapes can generate a continuous down-force exceeding 20 kilograms over large window spans.
The table below details standard operational specifications, maximum load caps, and the maximum spans allowed before an intermediate center support bracket must be installed:
| Rod Material & Wall Spec | Outer Diameter | Max Unsupported Span | Max Weight Limit | Recommended Fabric Applications |
|---|---|---|---|---|
| Premium Seamless Structural Steel | 1.25 inches (32 mm) | 96 inches (244 cm) | 32.0 kg (70.5 lbs) | Heavy theater velvet, acoustic drapes, lined tapestries |
| Extruded Anodized Aluminum Track | Internal Channel Profile | 120 inches (305 cm) | 22.5 kg (49.6 lbs) | Commercial hospitality drapes, hotel pinch-pleat panels |
| Solid C360 Machined Brass | 1.00 inch (25 mm) | 72 inches (183 cm) | 18.0 kg (39.6 lbs) | Medium-weight linens, cotton drapes, residential pleats |
| Telescoping Plated Steel (Standard) | 0.75" to 0.625" Inner | 48 inches (122 cm) | 7.0 kg (15.4 lbs) | Lightweight polyester sheers, laces, kitchen cafes |
Advanced Spatial Alignment and Placement Mathematics
The visual impact and lighting control of a window depend heavily on the physical height and width coordinates chosen for the rod brackets. Mounting hardware directly inside a window frame limits fabric coverage and blocks natural light when drapes are pulled open.
To make a room feel taller and maximize window exposure, professional installers implement the "High and Wide" mounting methodology. Position the rod assembly at least 6 to 12 inches above the window casing, or split the distance between the top of the trim and the ceiling line. Extending the rod horizontally past the window casing by 8 to 14 inches on each side creates a dedicated "stackback zone." This allows pulled-back drapery panels to sit entirely clear of the glass, flooding the interior with natural light and making the window opening appear significantly larger.
Calculating Total Drapery Rod Length
To find the ideal cutting length for a custom pole installation, utilize the following structural calculation formula:
Total Rod Cutting Length = Inside Window Opening Width + (Stackback Allowance × 2)
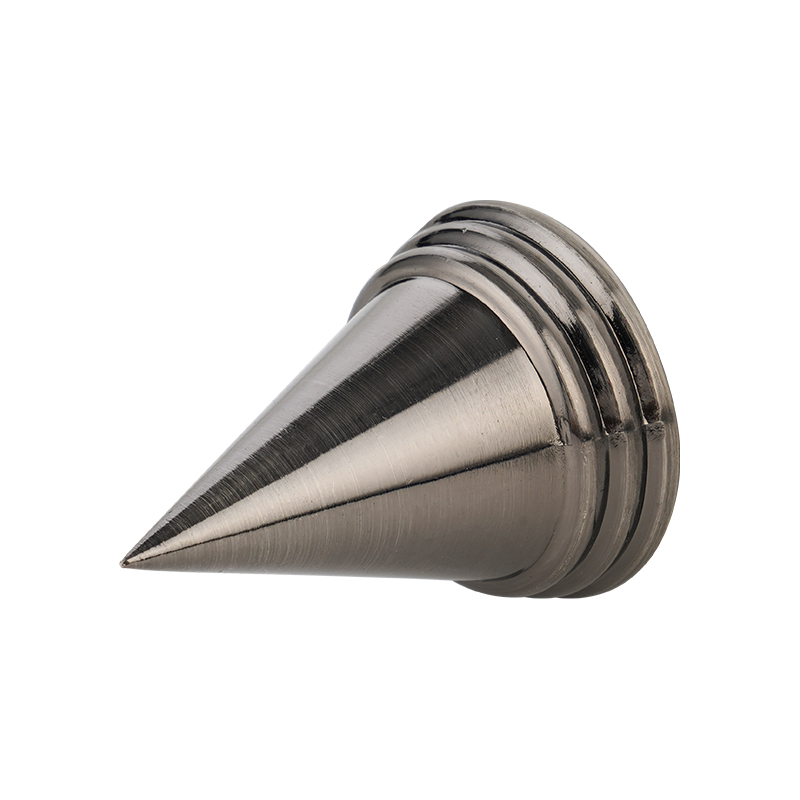
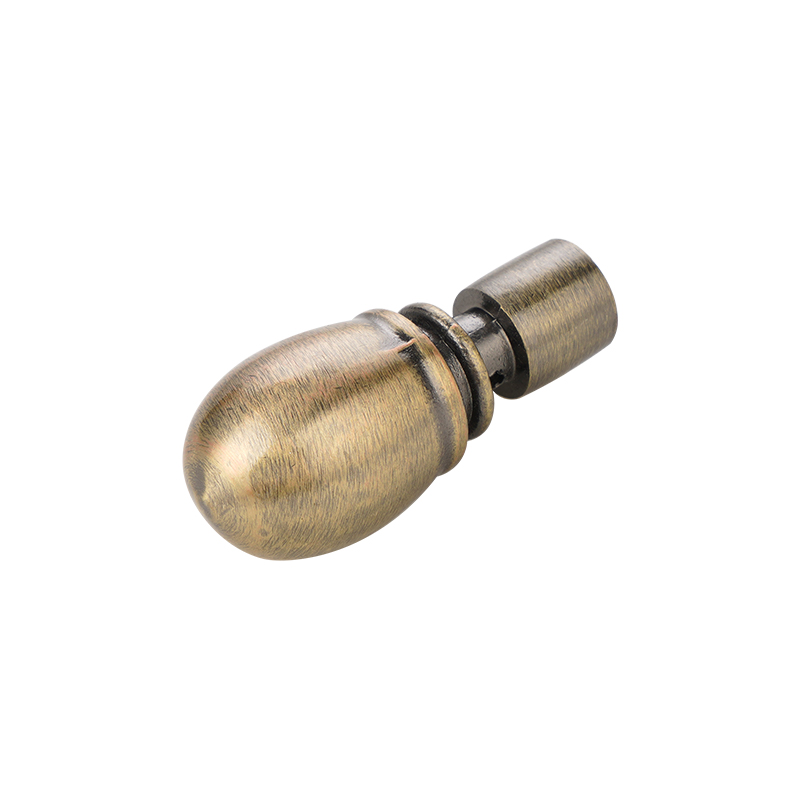
Note that this total refers strictly to the usable tracking cylinder. Decorative end finials add separate length requirements and must be calculated relative to adjacent sidewalls or corner clearances.
Step-by-Step Commercial Installation Blueprint
Executing a level, split-bracket installation requires an organized workflow and specialized tools to guarantee structural safety over decades of constant use.
- Project the Reference Level Line: Do not measure from the top of an older window trim frame, as structural headers can sag over time. Instead, establish an absolute level line using a commercial self-leveling cross-line laser level. Project this beam across the wall surface at your calculated height coordinates.
- Verify Backing and Stud Locations: Slide an electronic multi-scanner over the laser reference points to pinpoint interior vertical wood studs or steel tracking. Mark these locations carefully. If a stud line perfectly matches a bracket position, use heavy-duty wood screws; if the bracket sits over a hollow cavity, prepare heavy-duty steel toggle anchors.
- Pre-Drill Clean Pilot Holes: Use a sharp carbide-tipped drill bit matching the precise diameter of your anchor sleeves. Drill straight into the drywall core without wobbling to prevent a loose, oversized hole that could compromise anchor grip.
- Secure and Torque Base Plates: Secure the structural bracket wall plates over the anchor sleeves. Hand-tighten the mounting screws using a manual screwdriver. Avoid electric impact drivers, as high torque can strip plastic anchors or crack drywall cores.
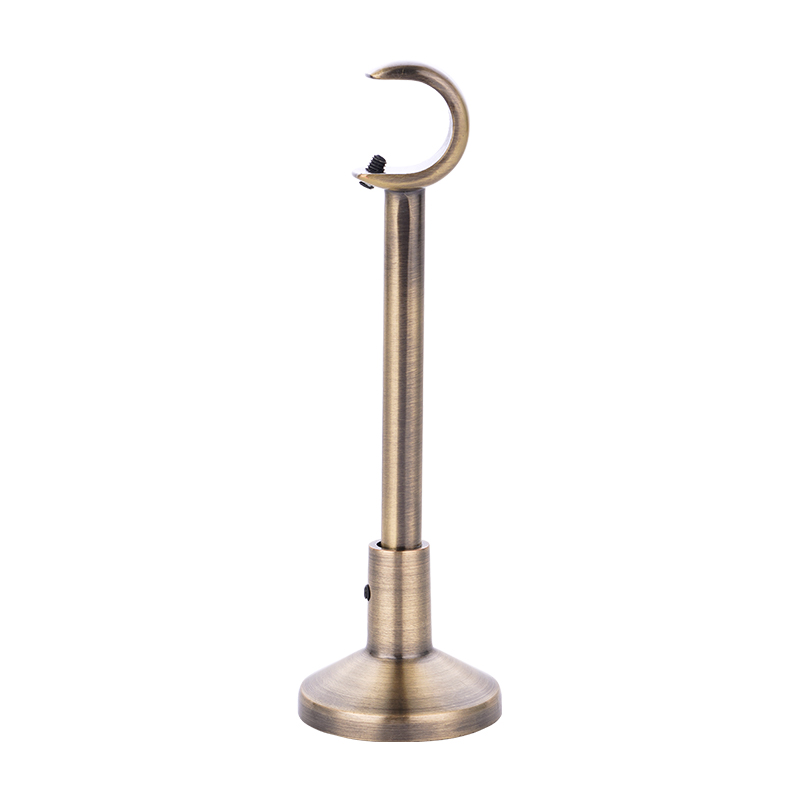
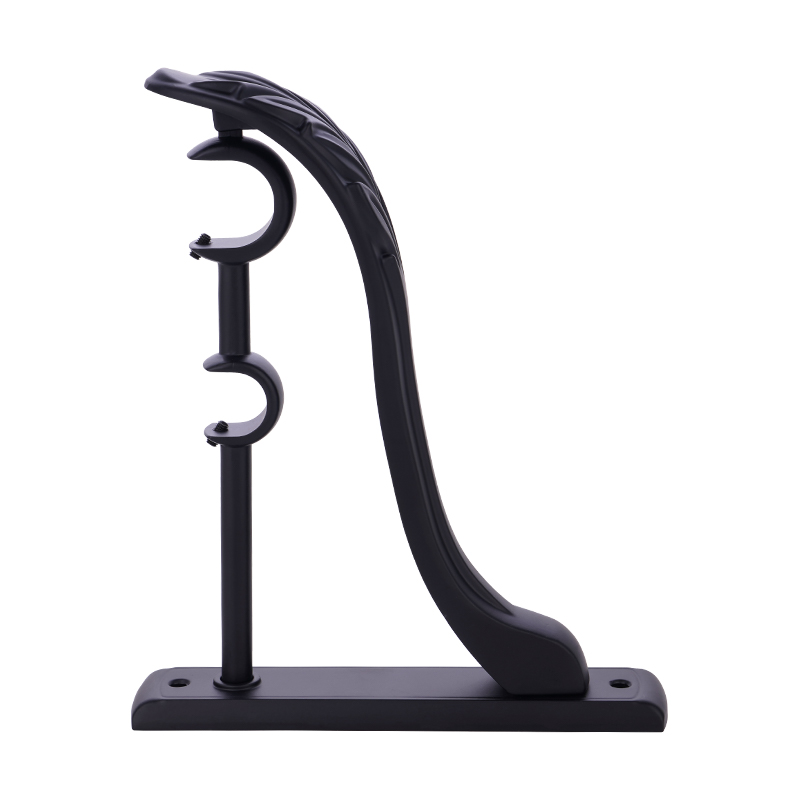
- Mount the Rod and Set Locking Screws: Pre-load your drapery rings onto the pole, then set the rod into the bracket cradle cups. Tighten the integrated hex grub screws at the back of each bracket cup. This mechanical clamp locks the rod in place, preventing it from shifting, sliding, or pulling out of the brackets when curtains are quickly drawn.
Troubleshooting Structural Defects and Mechanical Failure Modes
Over years of operation, curtain rod assemblies can develop operational issues, typically caused by incorrect initial calculations, poor hardware choice, or sudden accidental pulls.
A common structural failure is a loosening anchor point where the bracket begins pulling away from the drywall under the weight of the drapes. This typically happens when installers use light plastic anchors instead of toggle bolts. To fix this, remove the bracket, remove the failed anchor, and replace it with a heavy steel toggle bolt that flips open behind the drywall to distribute the weight over a wider surface area.
Another frequent issue is a severe center sag on a long telescoping rod. If adding a center support bracket is not possible because the drapes must draw cleanly across a wide span from one side to the other, the telescoping hardware must be replaced. Swap the adjustable tubes for a single-piece continuous thick-walled steel or structural aluminum rod. This stiffer profile provides the rigidity needed to span the window without bending under pressure.