English
 中文简体
中文简体
 русский
 Español

Securing heavy window draperies or multi-layered acoustic textiles requires an understanding of structural physics, fastener mechanics, and material limits. A curtain bracket serves as the fundamental anchor point that transfers the dead load of the drapery assembly, the mass of the curtain rod, and the dynamic kinetic forces generated during operation directly into the building's structural framework. Selecting the correct configuration based on wall composition, projection requirements, and expected shear stress is vital to prevent drywall failure, sagging rods, and long-term hardware deformation.
Mechanical Classification and Structural Profiles of Bracket Hardware
Curtain brackets are engineered in several distinct geometries, each designed to resolve specific spatial layouts and load challenges. Selecting the wrong bracket shape can lead to excessive leverage on the wall anchors, increasing the likelihood of structural failure.
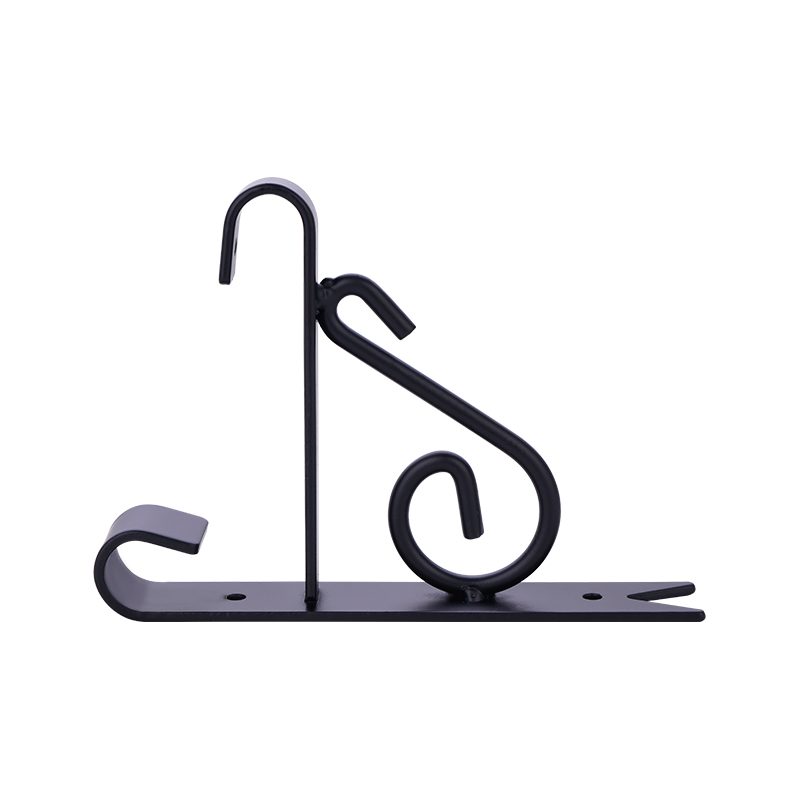
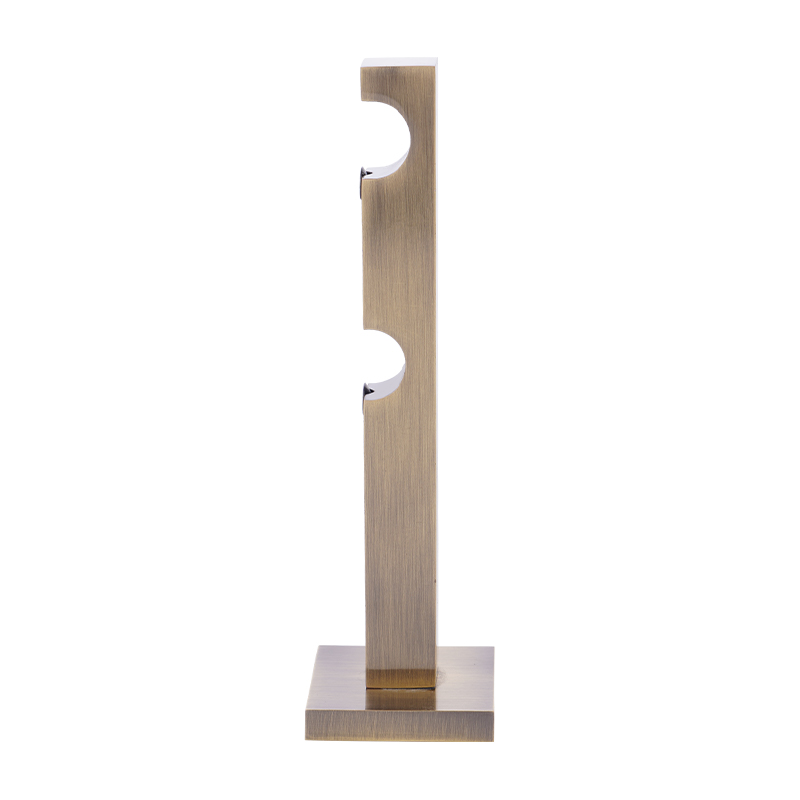
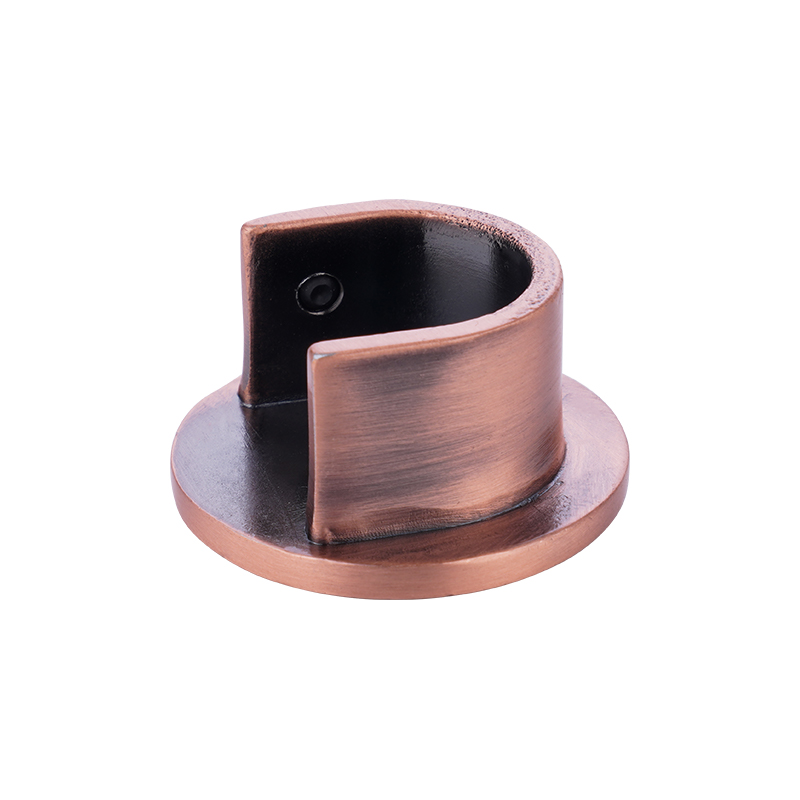
The most common variants are standard single wall-mount brackets, which feature a fixed or adjustable projection arm ending in a semi-circular cup or enclosed loop to cradle the rod. When deeper clearance is needed to step out past prominent window handles, trim molding, or integrated blind systems, specialized extended-projection or double-rod brackets are used instead. These double configurations introduce a second cup along the same support arm, allowing users to layer sheer fabrics close to the glass and heavier blackout panels on the exterior side.
Ceiling-Mount vs. Wall-Mount Architecture
The mounting direction significantly alters the type of stress applied to the underlying wall fasteners:
- Wall-Mount Brackets: Subjected primarily to shear stress (downward sliding force) and tension (pull-out force at the top of the wall plate due to rotational leverage).
- Ceiling-Mount Brackets: Avoid rotational leverage entirely but subject the anchors to constant, direct tension and pull-out forces, requiring heavy-duty mechanical toggle bolts if not fastened directly into wood ceiling joists.
Material Metallurgy and Deflection Resistance
The performance of a curtain bracket under high-load conditions is governed by its underlying material composition and structural thickness. If the metal is too thin or brittle, the horizontal projection arm will gradually bend downward over time, creating an unsightly sag and preventing the curtain panels from sliding smoothly along the rod.
Industrial-grade hardware typically utilizes stamped steel, wrought iron, or cast zinc alloys. Stamped steel components provide the highest yield strength and elastic resistance, meaning they can absorb accidental pulling forces without permanent bending. Cast zinc and aluminum alloys offer excellent corrosion resistance and intricate decorative detailing, but they possess a lower structural fatigue threshold and can snap cleanly if subjected to sudden overloads.
Surface Finishes and Corrosion Mitigation
To prevent oxygen and ambient humidity from tarnishing or rusting the metal base, premium brackets undergo electroplating or dry powder coating. Powder-coated surfaces provide a thick, non-porous layer that resists scratching from moving curtain rings. This protection is highly recommended for high-humidity environments like bathrooms or coastal installations where salt air accelerates oxidation.
Load Capacity and Spatial Dimension Matrix
Engineering an installation requires aligning the bracket type with the physical weight of the fabric panels. Thick velvet drapes or thermal insulated curtains can weigh upwards of 15 kilograms when fully extended across large panoramic window banks.
The following matrix matches bracket profiles and material combinations with their safe working load capacities and ideal wall spacing requirements:
| Bracket Configuration | Material Composition | Typical Arm Projection Range | Max Safe Load per Pair | Max Recommended Interval Spacing |
|---|---|---|---|---|
| Standard Fixed Single Cup | Solid Wrought Iron | 3.5 inches (89 mm) | 25.0 kg (55.1 lbs) | 60 inches (152 cm) |
| Adjustable Heavy-Duty Single | Heavy Stamped Steel | 4.0 to 5.5 inches | 18.0 kg (39.6 lbs) | 54 inches (137 cm) |
| Fixed Double-Rod Assembly | Cast Aluminum Alloy | 3.0 & 6.0 inches (Dual) | 15.0 kg (33.0 lbs) | 48 inches (122 cm) |
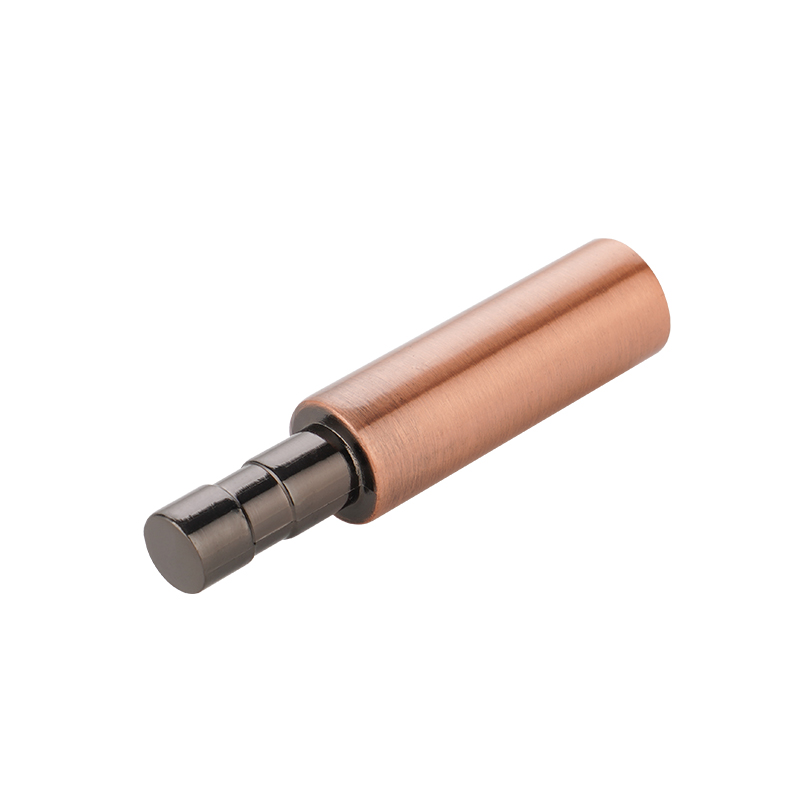
| Ceiling-Mount Loop Cylinder | Machined Brass / Steel Tube | 2.5 inches (Drop Length) | 12.0 kg (26.4 lbs) | 42 inches (106 cm) |
Fastener Dynamics and Wall Anchor Selection Protocols
The strongest metal curtain bracket is only as secure as the fastener holding it to the wall surface. Attaching a heavily loaded bracket directly into standard 12.5 mm (0.5-inch) gypsum drywall using simple fine-thread screws is a primary cause of hardware failure.
Whenever possible, installers should position brackets so that at least one mounting screw penetrates directly into a structural wood wall stud. When a wood stud line cannot be matched to the required window edge coordinates, advanced hollow-wall anchors must be substituted to distribute the loads across the back surface of the gypsum panel.
Analysis of Common Wall Anchor Formulations
Different wall anchors provide vastly different structural safety margins under real-world conditions:
- Conical Plastic Expansion Plugs: Provide poor performance in drywall when subjected to tension or leverage. They are best reserved for solid concrete or brick masonry applications.
- Self-Drilling Zinc Threaded Anchors: Provide excellent shear strength in drywall for medium-weight rods, performing well up to roughly 10 to 15 kilograms.
- Metal Toggle Bolts / Butterfly Anchors: The gold standard for hollow walls. By clamping a wide steel wing assembly flat against the hidden inner surface of the drywall, they spread the load outward, minimizing tension stress on the gypsum core.
Step-by-Step Precision Installation and Alignment Workflow
To achieve perfectly straight lines and ensure smooth curtain movement, installers should follow a clear, methodical installation checklist.
- Establish the Height Datum Line: Measure upward from the top edge of the window trim molding, typically 4 to 6 inches, to place the curtain rod high enough to frame the window. Use a long spirit level or a self-leveling cross-line laser level to project a perfectly flat horizontal line across the wall.
- Mark the Horizontal Offsets: Measure outward horizontally from the left and right outer edges of the window casing. Standard layouts call for a 4 to 8-inch offset on each side, allowing the curtains to pull back past the glass when opened. Mark the intersections on the height datum line.
- Pilot Hole Drilling and Stud Scanning: Run an electronic stud finder over your target marks. If wood backing is detected, drill a narrow 2.0 mm pilot hole directly into the timber. If the cavity is hollow, drill a larger hole sized exactly to the manufacturer's specification for your toggle bolt or threaded anchor.
- Mount and Secure the Brackets: Align the bracket base plate over the drilled holes, insert the fasteners, and tighten them down using a manual screwdriver. Avoid over-tightening with an electric impact driver, as excess torque can easily strip out drywall anchors or deform the bracket base.
- Lock the Curtain Rod in Place: Set the curtain rod into the bracket cups. Most heavy-duty brackets feature an integrated grub screw or retention set-screw at the bottom of the cup. Tighten this screw firmly against the rod surface to prevent it from sliding or lifting out of alignment when the curtains are pulled back and forth.
Troubleshooting Structural Instability and Remedial Repairs
When an existing curtain bracket assembly loosens, sags, or pulls away from the wall surface, quick fixes like inserting a larger screw into the damaged hole will rarely resolve the underlying problem. The surrounding drywall core has likely crumbled, losing its shear strength.
To execute a durable repair, remove the bracket entirely and inspect the hole. If the drywall damage is minor, clear away the loose powder and swap the old plug for a heavy-duty flipping toggle bolt, which clamps onto an undamaged section of drywall further from the blowout point.
If the drywall is severely torn or compromised, the most reliable long-term solution is to patch the wall and shift the brackets slightly outward or upward into fresh drywall. Alternatively, you can secure a finished structural wood backer board—such as a 1x4 timber header panel—firmly into the wall studs across the entire width of the window frame. This creates a solid wood base, allowing you to mount your curtain brackets at any position with zero reliance on fragile drywall anchors.