English
 中文简体
中文简体
 русский
 Español

A rod is only as strong as the joint holding it together.
Curtain rod connectors solve a problem that a single fixed-length rod can't: covering a window wider than any one rod, turning a corner around a bay or bow window, or joining decorative finials to a functional track. The hardware looks minor compared to the rod itself, but it's usually the connector — not the rod — that fails first under the weight of heavy drapery. Choosing the right type means matching connector shape to the layout, and connector material to the load it needs to carry.
The three connector geometries that cover nearly every curtain rod layout: straight, elbow, and adjustable-angle.
Roughly how much more weight a set-screw metal connector can hold compared with a snap-fit plastic joint of similar size.
Typical tolerance connectors need to match a rod's outer diameter for a snug, wobble-free fit.
Shape comparisonStraight vs Corner vs Elbow: Matching Connector to Layout
Connector geometry is dictated entirely by the window layout, not personal preference. A flat wall with a wide window needs length, not angle; a bay window needs the opposite.
Straight / Sleeve Connectors
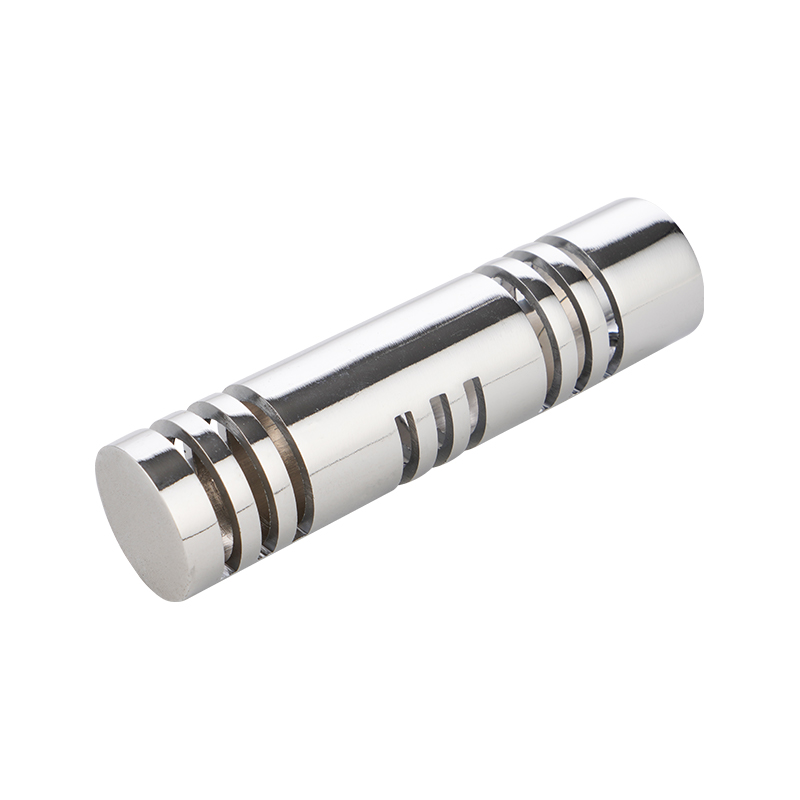
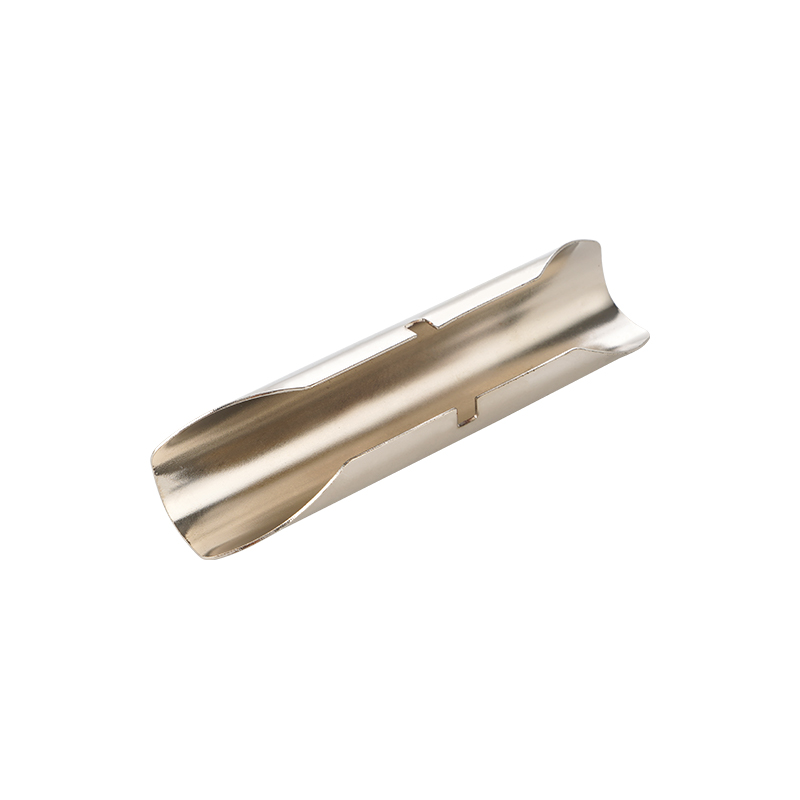
A cylindrical coupling that joins two rod sections end to end, extending total length without adding any angle.
Best for: wide flat windows, extending stock rod length
Corner Connectors
A fixed 90-degree joint designed for square bay windows or wrap-around installations with a consistent angle.
Best for: square bay windows, room corners
Adjustable-Angle Connectors
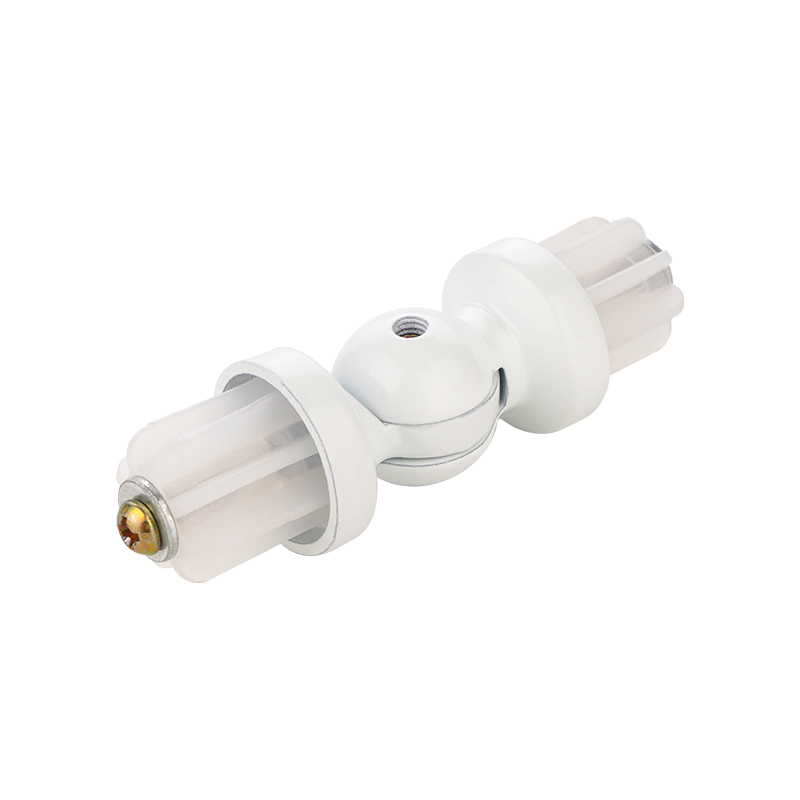
A flexible joint that can be set anywhere between roughly 90 and 180 degrees to match irregular bay angles.
Best for: angled bay windows, custom layouts
Getting the geometry wrong is one of the most common installation headaches — a fixed corner connector forced into a shallow-angle bay window will either bind the curtain track or leave a visible gap the curtain can't glide past smoothly.
Material comparisonMetal vs Plastic Connectors: Which Holds Up Under Weight
Material choice determines how much curtain weight a connector can carry before it flexes, creaks, or eventually cracks. Heavier drapery fabrics — velvet, blackout linings, layered panels — put considerably more load on a joint than a light sheer panel ever will.
| Material | Typical Weight Capacity | Durability Over Time |
| Higher — suited to heavy drapery and layered panels | Resists flexing and fatigue over years of use | |
| Plastic (ABS/nylon) | Lower — best for lightweight sheers and cafe curtains | Can become brittle with UV exposure near sunny windows |
Plastic connectors aren't inherently a poor choice — they're simply matched to a lighter-duty job. The mismatch happens when a plastic joint gets pressed into service under a heavy blackout panel it was never rated to support.
Mechanism comparisonScrew-In, Set-Screw, and Snap-Fit: How Connectors Actually Lock
| Mechanism | How It Works | Adjustability |
| Set-screw | A small screw tightens against the rod through the connector wall | Fully adjustable rod length before locking |
| Screw-in threaded | Connector and rod ends thread together like a pipe fitting | Fixed increments based on thread depth |
| Snap-fit | A spring tab or friction sleeve clicks the two pieces together | Quick assembly, but least resistant to loosening over time |
Fit toleranceSizing a Connector to Your Rod Diameter
A connector that's even slightly oversized for the rod will wobble at the joint no matter how well it's tightened, while one that's undersized won't seat fully and can crack under pressure during installation.
- Measure the rod's outer diameter directly rather than relying on a size label, since actual measurements can vary slightly between manufacturers
- Match connector inner diameter within about 0.1 inch of the rod's outer diameter for a snug fit
- For mismatched rod sections, look for a stepped or reducer-style connector rather than forcing a standard sleeve
Bay window installsChoosing the Right Joint Angle for Wrap-Around Layouts
Bay and bow windows rarely follow a single standard angle, which is why adjustable connectors have become the more common choice for these layouts over fixed 90-degree joints. A bay window's actual corner angle should be measured directly with a protractor or angle finder before ordering hardware, since even a 10-degree mismatch between a fixed connector and the real wall angle will show up as a visible kink in the curtain line.
InstallationSteps for a Secure, Wobble-Free Connection
- Slide both rod ends into the connector fully, confirming there's no visible gap at either seam before tightening anything.
- Align any decorative pattern or finish direction on the rod so the seam isn't visually obvious once installed.
- Tighten set-screws evenly on both sides rather than fully securing one end before touching the other.
- Test the joint by gently applying downward pressure to check for flex before hanging the curtain panel.
- Recheck tightness after the curtain has hung for a few days, since initial settling can slightly loosen the first connection.
LongevityCommon Mistakes That Cause Connectors to Loosen Over Time
- Skipping the recheck after initial installation, letting a slightly loose set-screw go unnoticed for months
- Using a snap-fit connector under a heavier curtain than it was rated to support
- Overtightening plastic set-screws, which can crack the housing rather than actually improving grip
- Ignoring visible gaps at the seam during installation instead of reseating the rod fully before locking it down
Support needsWeight Limits and When to Add Extra Brackets
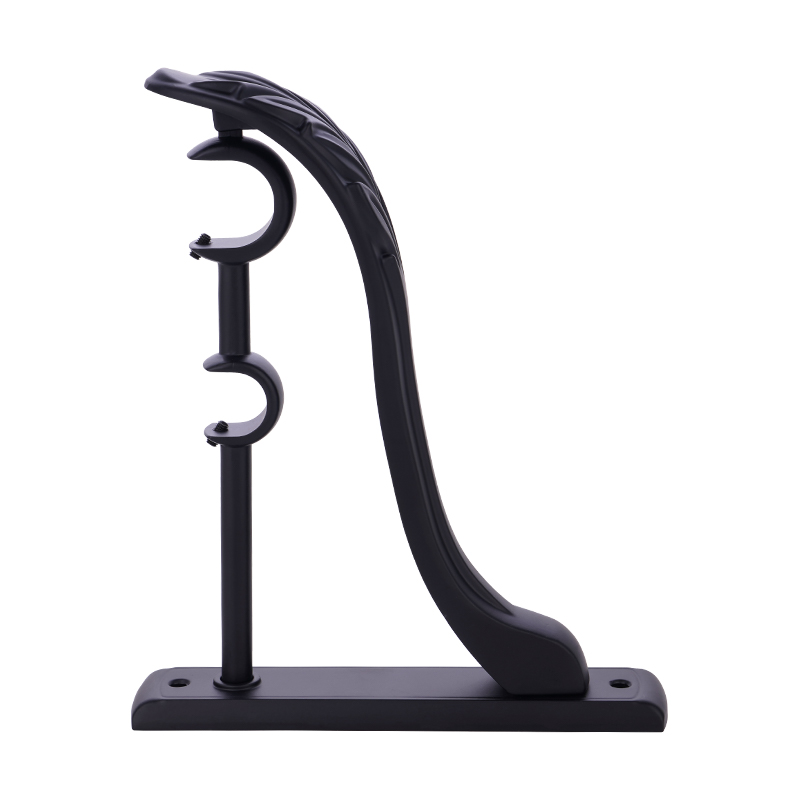
Even a well-matched connector benefits from additional support on wide spans. As a general guideline, any rod run longer than about six feet, or any panel heavier than a mid-weight blackout curtain, should include a center support bracket near the connector joint rather than relying on end brackets and the connector alone to carry the full span.